


|
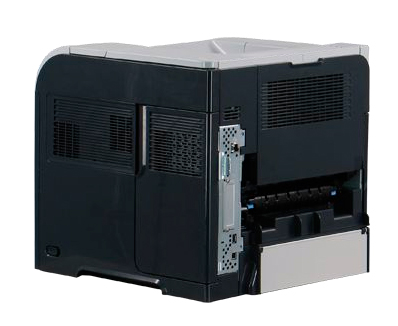
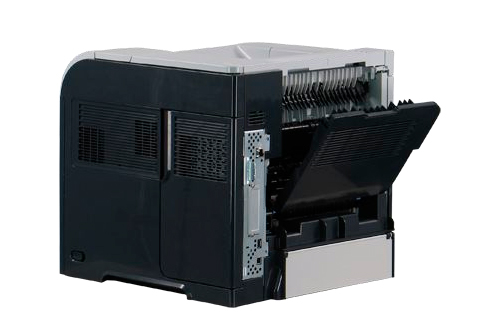
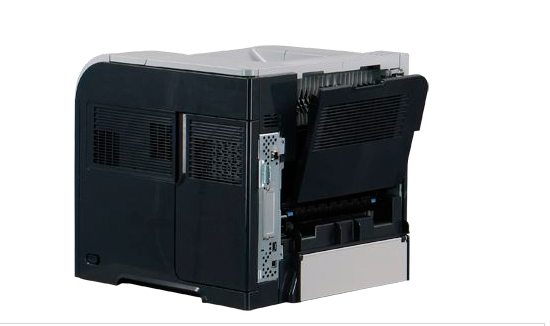
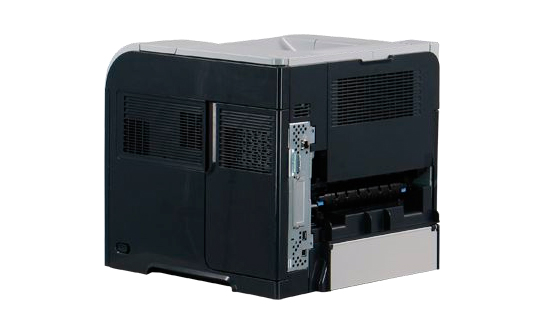
HP LaserJet P4014 Printer Fuser Instructions
Originally written for: HP LaserJet P4014
Also applies to: HP LaserJet P4014dn, P4014n, P4015dn, P4015n, P4015tn, P4015x, P4515n, P4515tn, P4515x, P4515xm

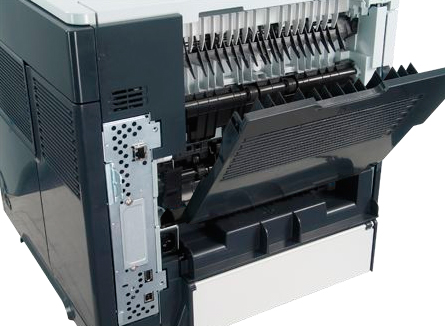
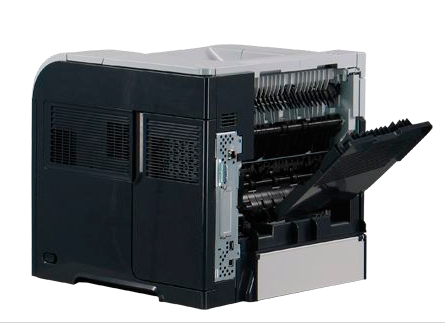
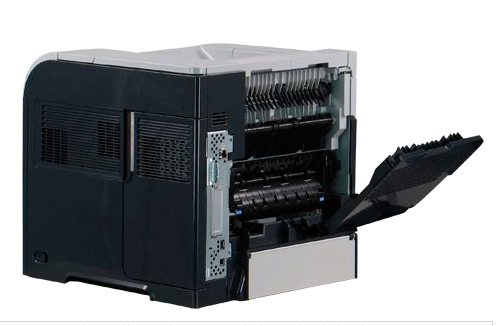
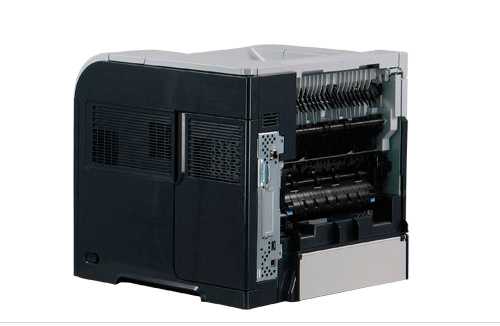
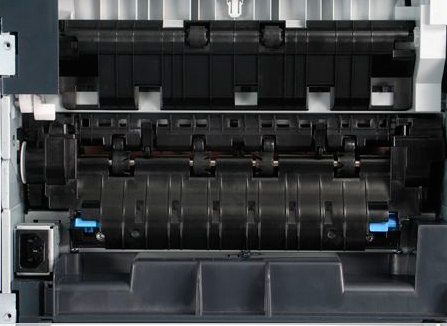
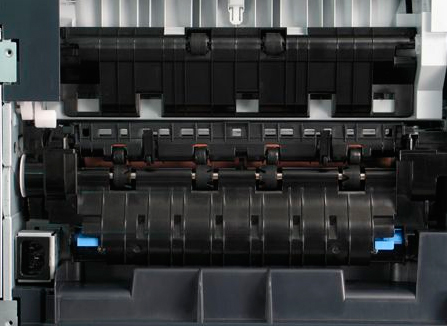
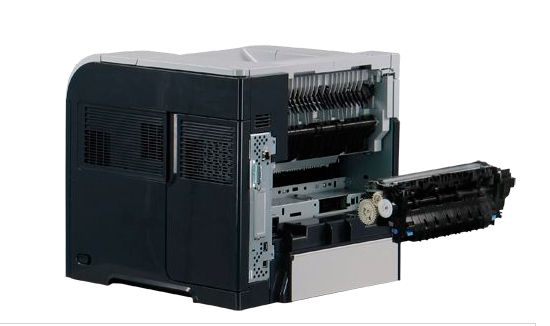
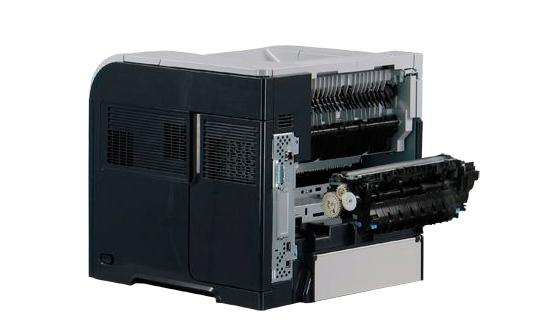
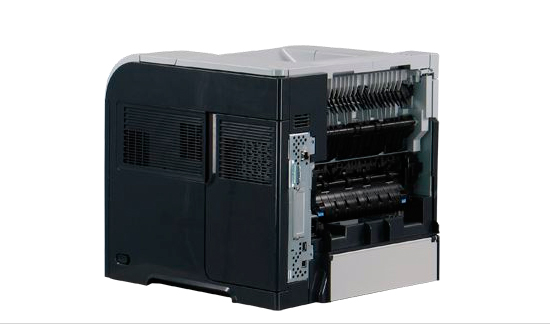
These instructions describe replacement of the fuser on an HP Laserjet P4014 and similar models. To order your replacement fuser assembly for this printer, use the following part: A0756 (HP RM1-4554-000 Fuser) Step 1.
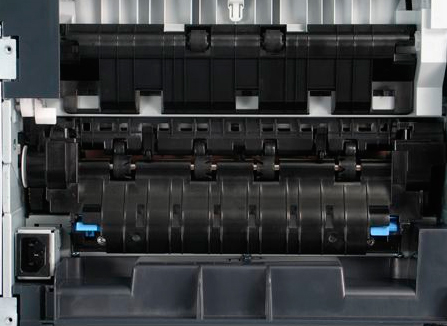
Step 2.
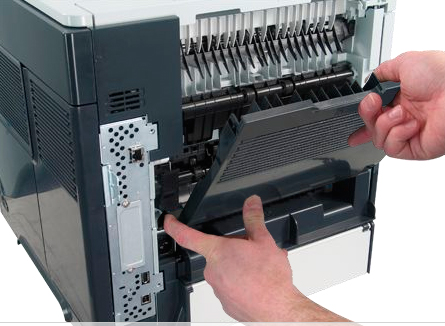
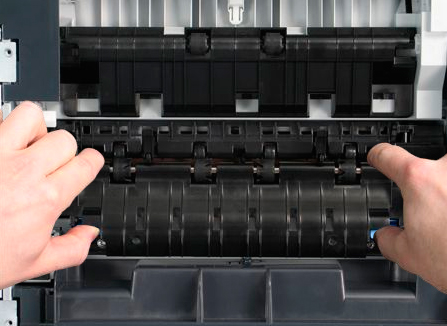
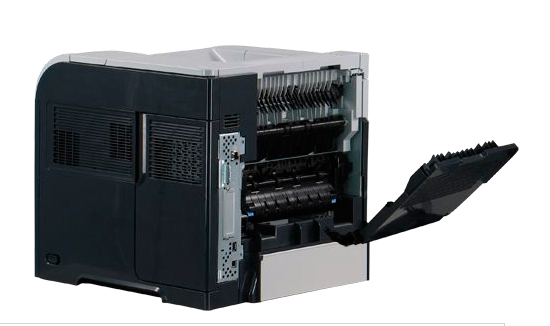
Step 3.
Step 4.
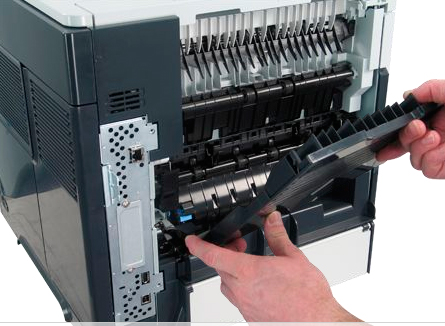
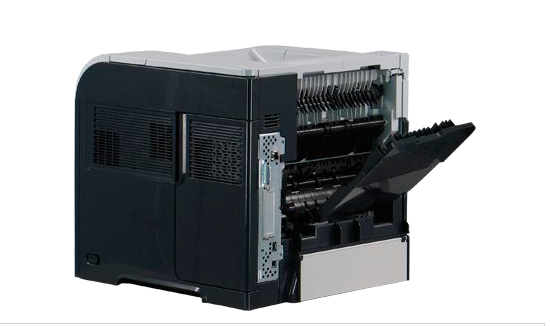
Step 5.
Step 6.
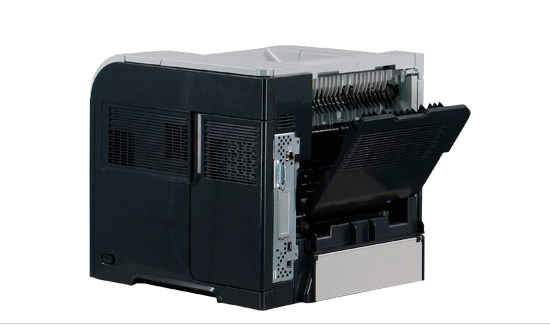
Step 7. Step 8.
Step 9.
Step 10.
Step 11.
Step 12.
|


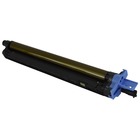 Konica Minolta A7U40TD Color Drum Unit
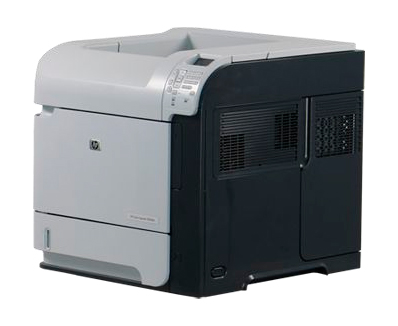


©2003-2024 Precision Roller. • 2102 West Quail Avenue, Suite 1 • Phoenix, AZ 85027 • (800) 323-9523 / (623) 581-3330 • M-F 8:00am - 4:30pm MST (noDST)
Individual brands are copyrighted by their respective owners. Precision Roller is in no way affiliated, sponsored or endorsed by these copyright owners or their affiliates or dealers
This website uses a secure server to encrypt all sensitive information.
Questions? Concerns? Send us a note at webmaster@precisionroller.com
This website uses a secure server to encrypt all sensitive information.
Questions? Concerns? Send us a note at webmaster@precisionroller.com