


|
HP LaserJet 4200 Maintenance Kit Instructions
Originally written for: HP LaserJet 4200tn
Also applies to: HP LaserJet 4200, 4200dtn, 4200dtns, 4200dtnsl, 4200L, 4200n

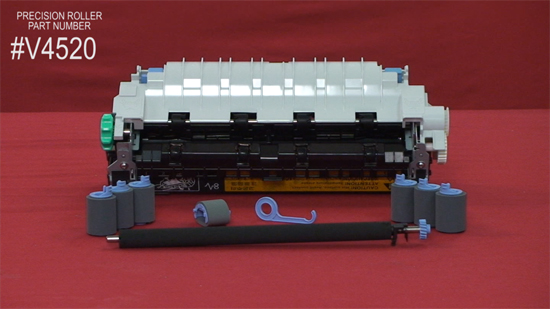
These instructions will help explain maintenance kit installation steps for an HP Laserjet 4200 and similar models. HP LaserJet 4200 Maintenance Kit Instructions The HP LaserJet 4200 Maintenance Kit includes: Q2429-67905, Q2429-67904, Q2429-67903, Q2429-69005, Q2429-67902, Q2426-69001, Q2429A
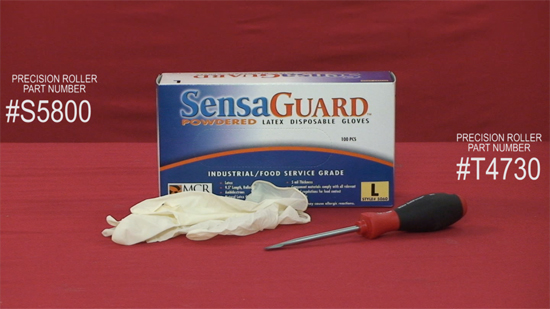
Please Note: Some kits may contain more or less rollers. For this install we are only going to use two of the rollers provided. The tools required for the HP LaserJet 4200 maintenance kit:
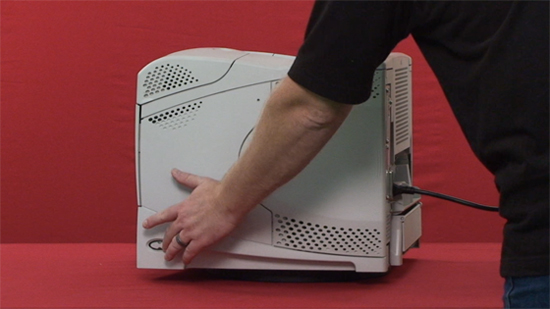
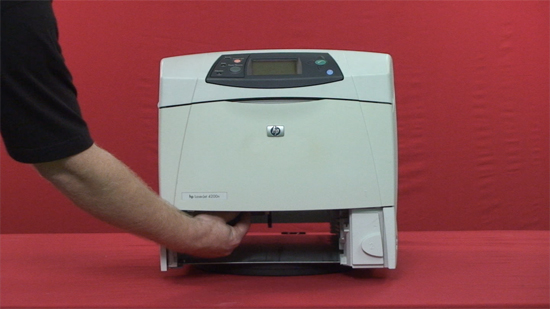
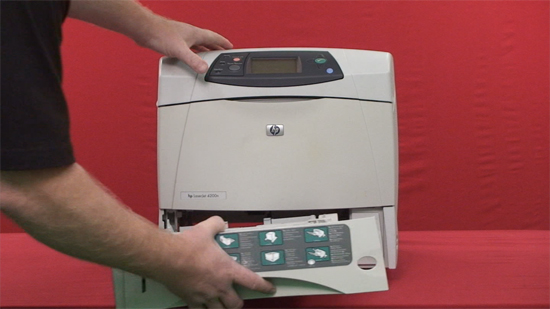
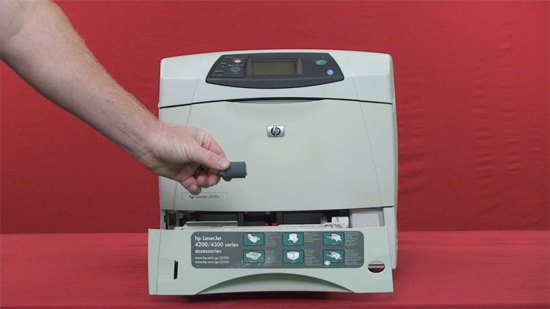
Turn the printer off and unplug the power cord.
Caution if you have been using the printer the fuser section will be hot! Please allow the fuser to cool for at least 30 minutes before removing it.
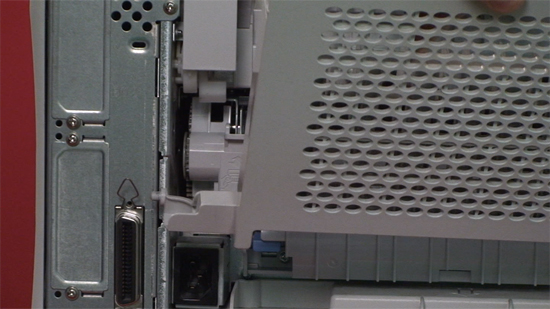
Duplexer
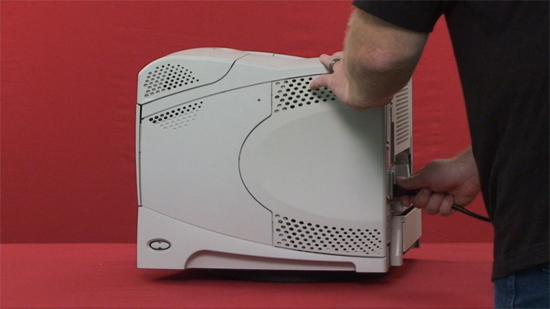
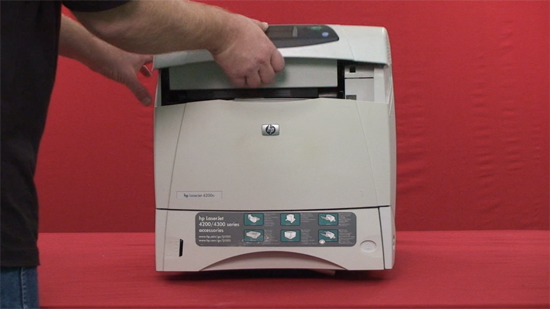
Remove Output Bin
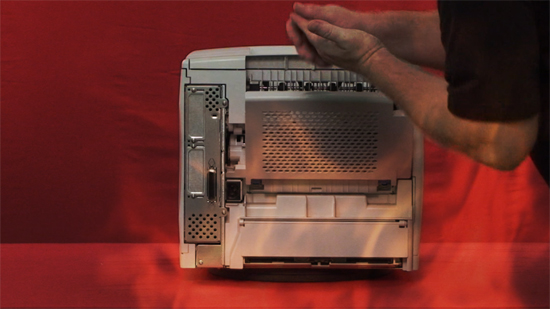
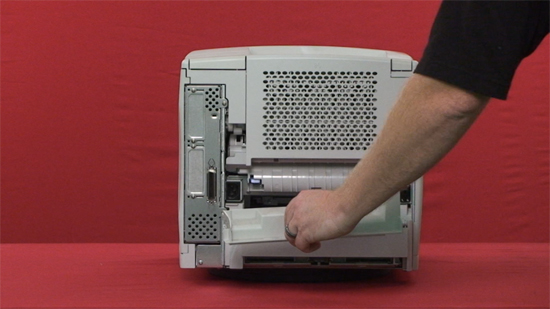
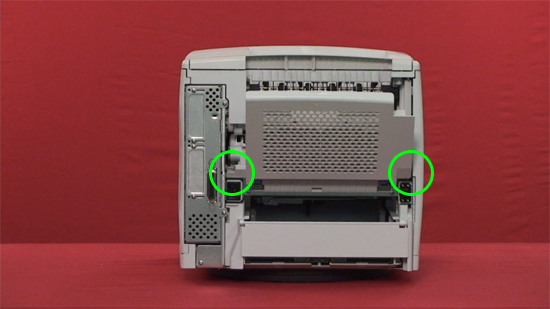
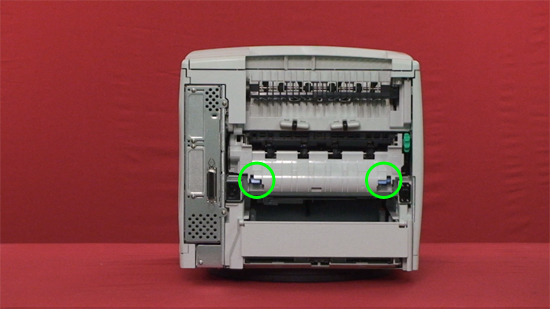
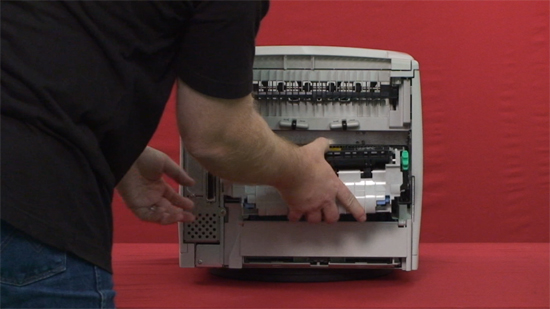
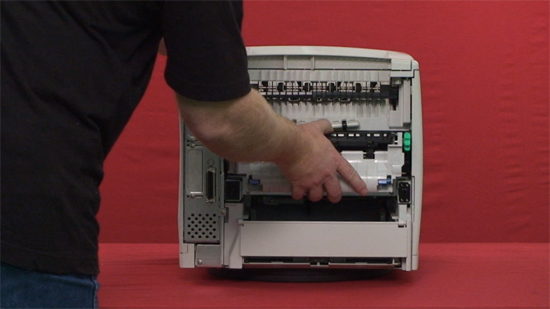
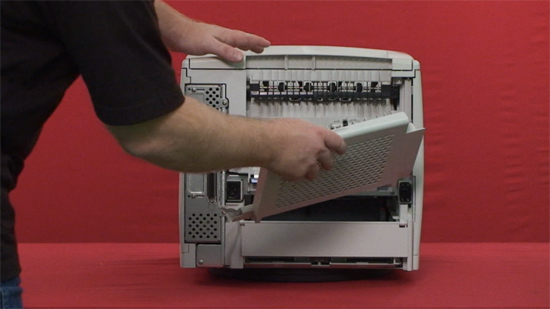
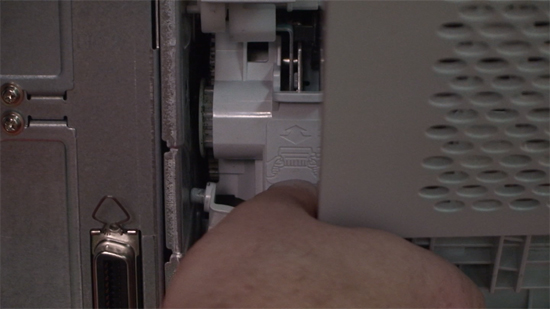
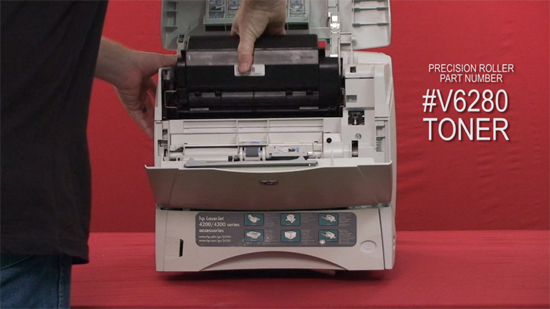
Remove Fuser Remove the fuser by squeezing the two blue fuser release tabs and then pull the fuser straight out of the printer.
Install Fuser
Install Output Bin Install the Output Bin. Insert the right hinge pin in the hole inside the chassis. Next push the left side of the output bin into the right side of the printers’ chassis. Then close the rear output bin.
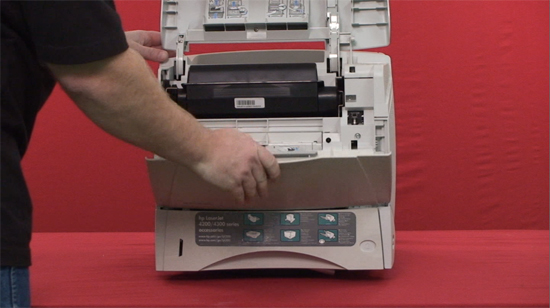
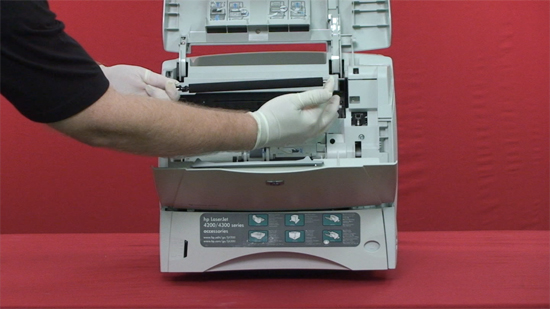
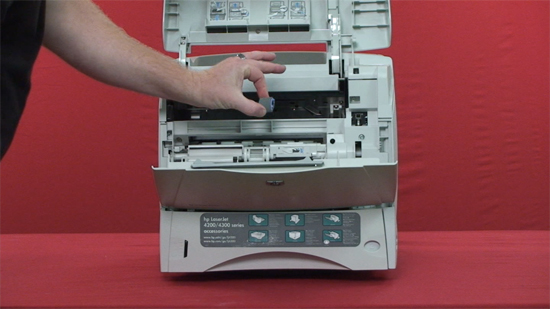
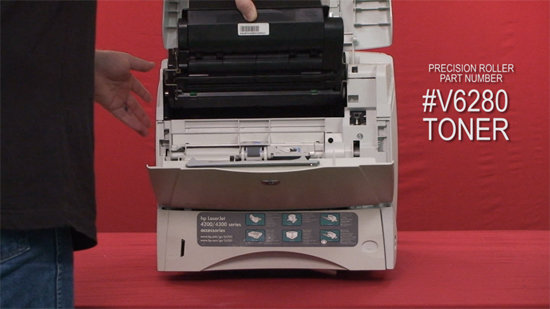
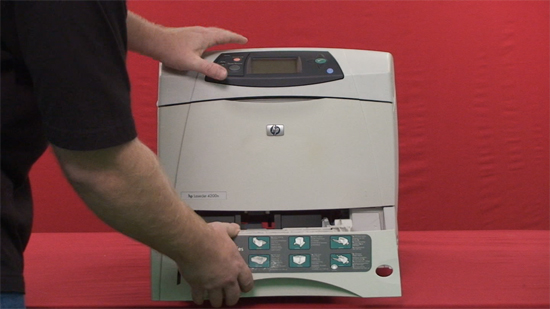
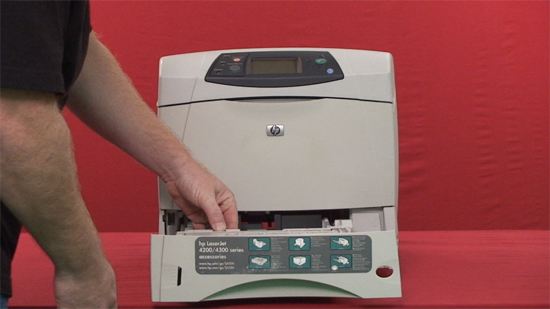
Remove Print Cartridge Open the control panel door and Tray 1. Firmly grasp the print cartridge and pull it up and out of the printer.
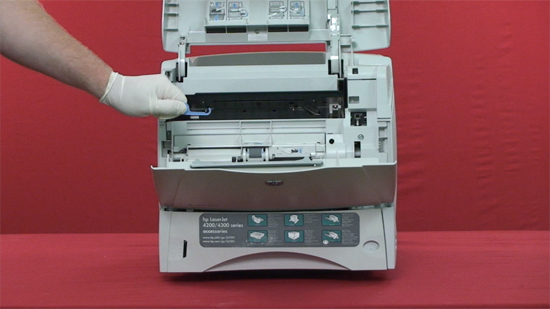
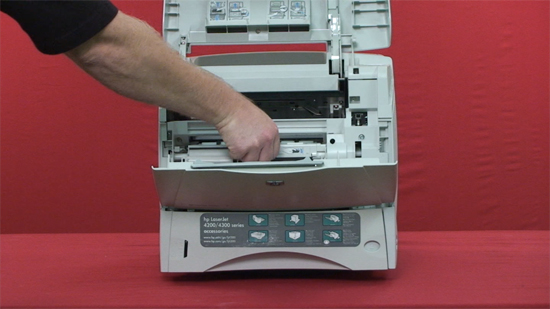
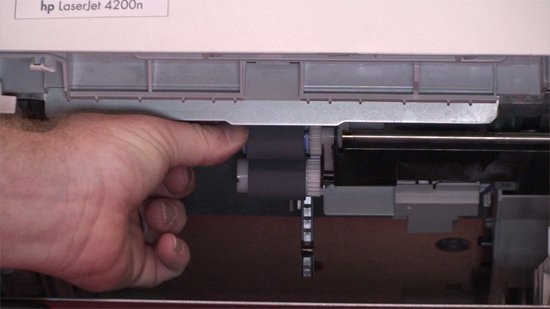
Remove Transfer Roller Use the plastic transfer-roller tool (THERE IS A HOOK END ON IT) to slightly lift the left end of the metal shaft upward. Slide the transfer roller to the left and remove it from the printer.
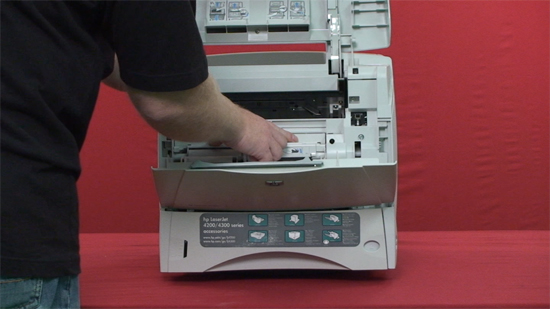
Installing Transfer Roller
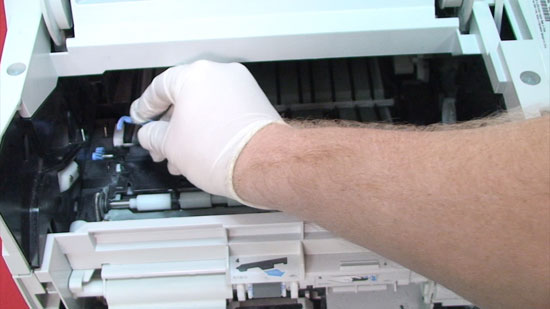
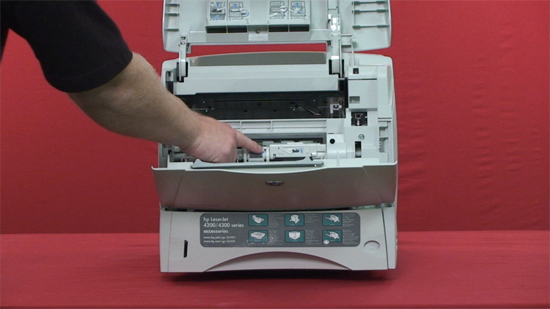
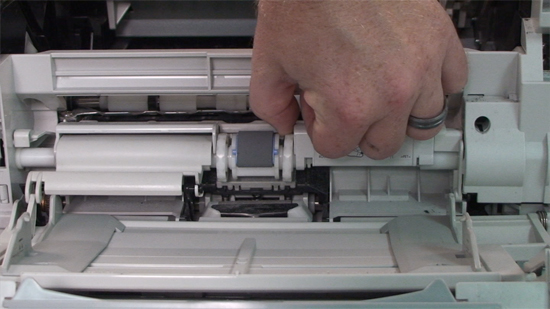
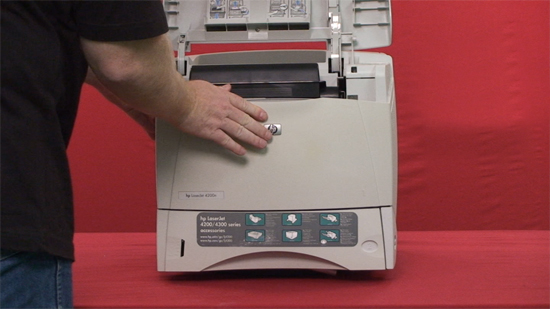
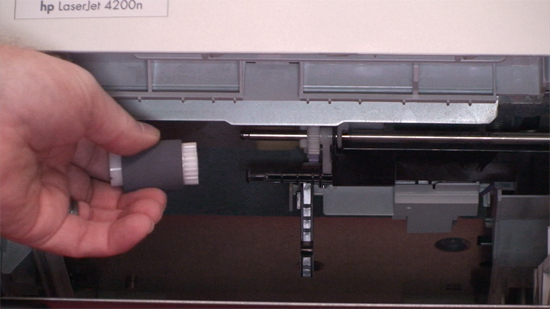
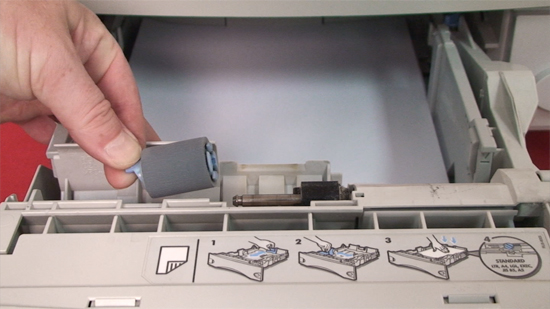
Remove Pickup Roller
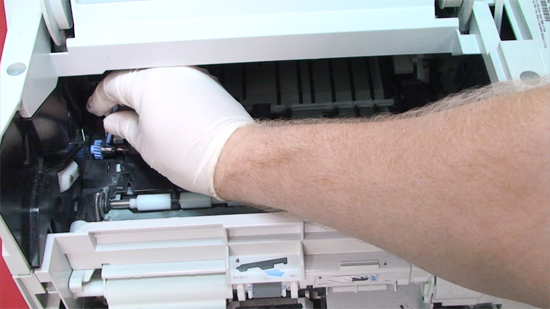
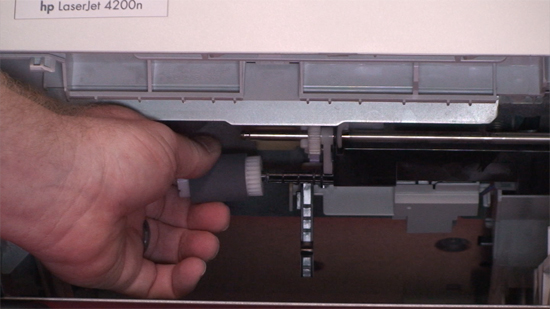
Install Pickup Roller
Insert the front accessory cover.
Install the print cartridge, and then close the tray 1 and the top cover.
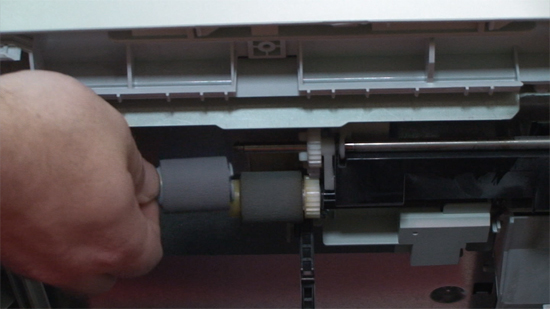
Remove Feed Roller
Please Note:
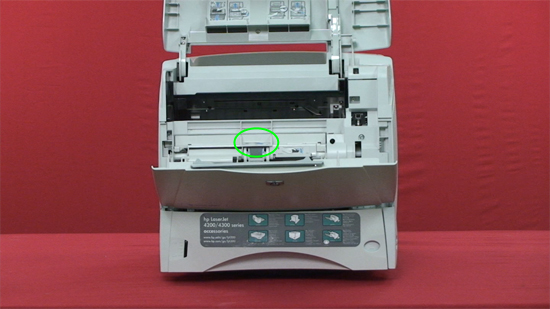
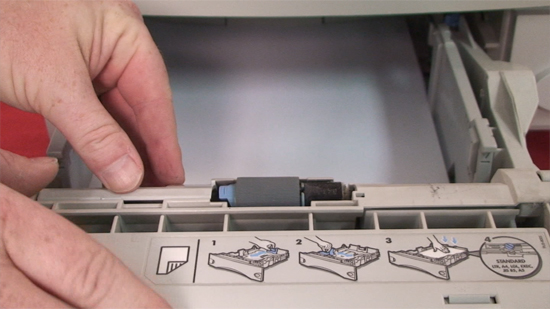
Uninstall the old paper pickup roller by pinching the white tab on the roller, then sliding the roller off the left end of the shaft.
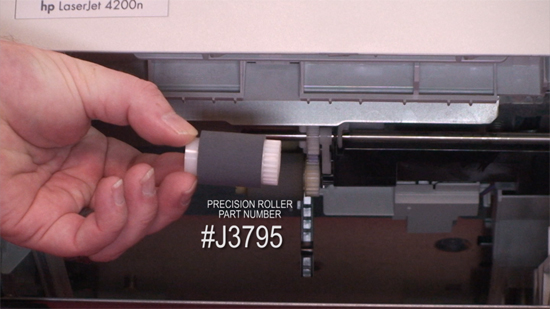
To install the paper pickup roller slide the new roller onto the shaft and rotate the roller until it locks into place. Note It is important that the roller locks into place.
Installing Feed Roller
Remove separation Roller
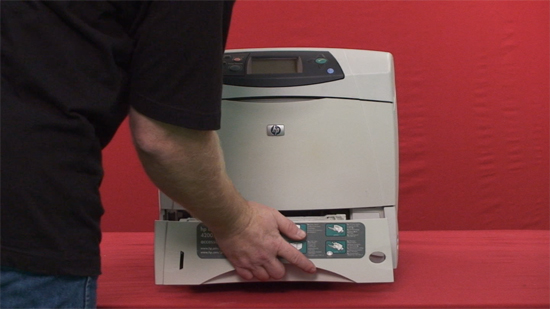
Find the cover that is located on the tray, next to the feed roller. Open the cover by rotating it upward.
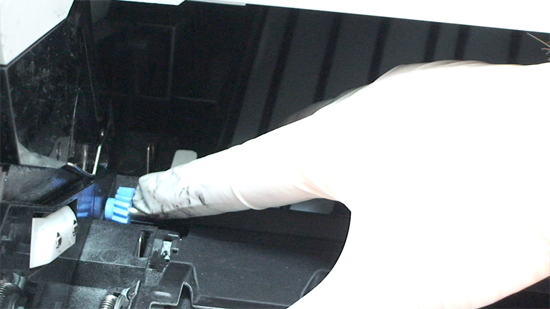
Push the blue latch that is on the left side of the feed roller away from the roller shaft to unlock the roller. Slide the roller off the shaft.
Install separation Roller
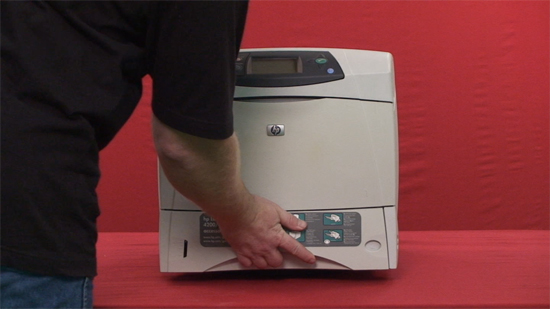
Close the Tray 2 bin.
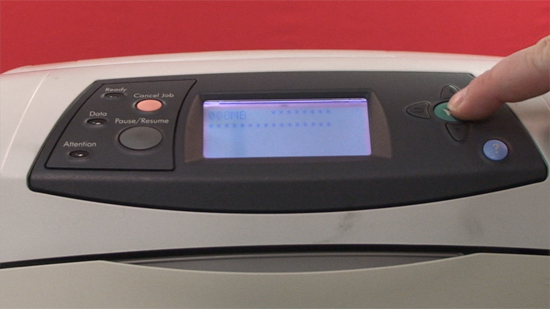
Plug the power cord into the printer and turn the printer on.
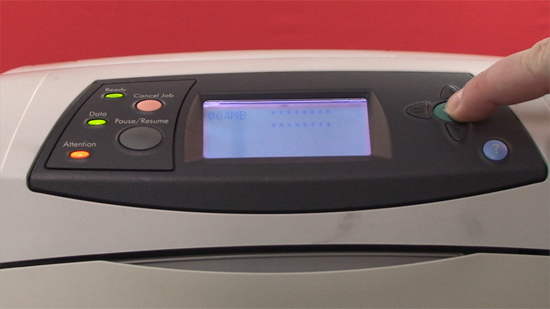
When the message XXX MB appears, press and hold the check mark button until all three control panel lights turn on and stay on.
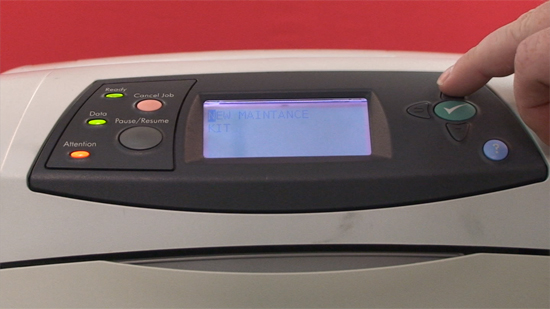
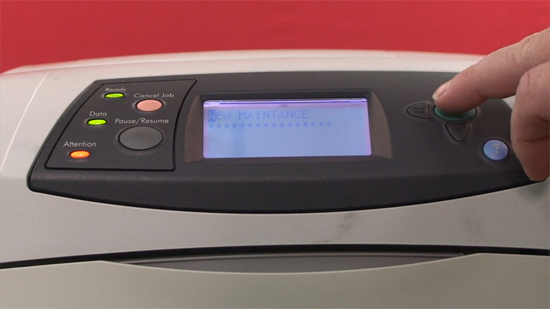
Release the check mark button. Press the up arrow until NEW MAINTENANCE KIT appears, and then presses the check mark button.
|


 Konica Minolta Cyan Toner Cartridge


©2003-2026 Precision Roller. • 2102 West Quail Avenue, Suite 1 • Phoenix, AZ 85027 • (800) 323-9523 / (623) 581-3330 • M-F 7:30am - 5:00pm MST (noDST)
Individual brands are copyrighted by their respective owners. Precision Roller is in no way affiliated, sponsored or endorsed by these copyright owners or their affiliates or dealers.
This website uses a secure server to encrypt all sensitive information.
Questions? Concerns? Send us a note at webmaster@precisionroller.com
This website uses a secure server to encrypt all sensitive information.
Questions? Concerns? Send us a note at webmaster@precisionroller.com