


|
Dell 1710 Replacing the Imaging Drum Instructions
Originally written for: Dell 1710

These instructions describe replacement of the drum on a Dell 1710 and similar models. To order your replacement Imaging Drum for this printer refer to part number: P3940 Replacing the Imaging Drum To ensure print quality and to avoid damage to the printer, the printer stops operating after the image drum has reached a maximum of 40,000 pages. The printer automatically notifies you before the imaging drum reaches this point. When you first receive the Replace imaging drum light sequence you should immediately order a new imaging drum. While the printer may continue to function properly after the imaging drum has reached its official end-of-life (approximately 30,000 pages), print quality begins to significantly decrease until the imaging drum stops operating at the maximum of 40,000 pages.
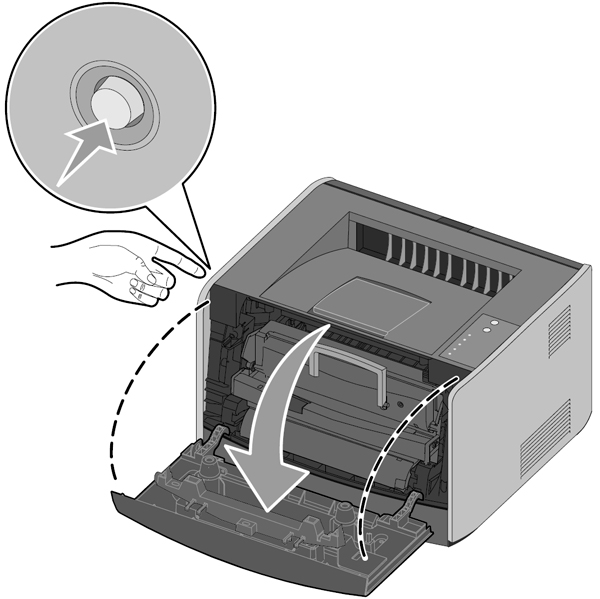
NOTICE: When replacing an imaging drum, do not leave the toner cartridge or the new imaging drum exposed to direct light for an extended period of time. Extended light exposure can cause print quality problems.
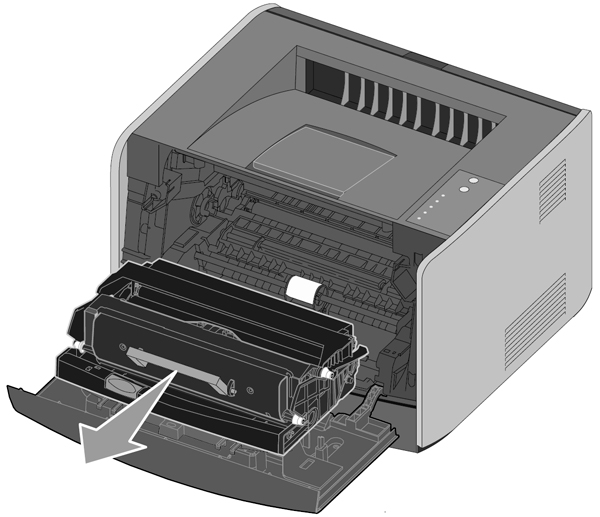
2 Pull the toner cartridge assembly out of the printer by pulling on the toner cartridge handle.
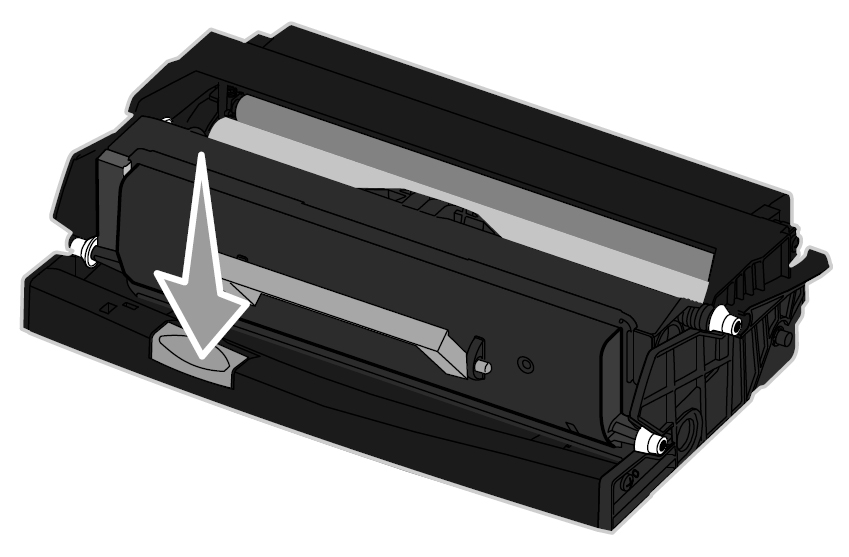
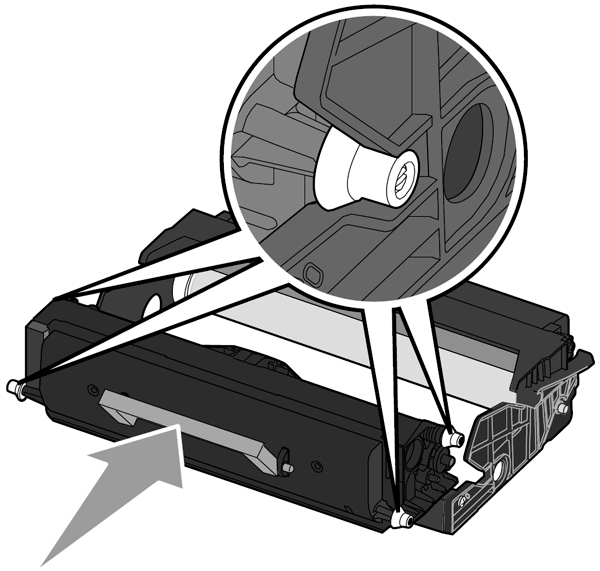
Place the toner cartridge assembly on a flat, clean surface. 3 Press the button on the base of the toner cartridge assembly.
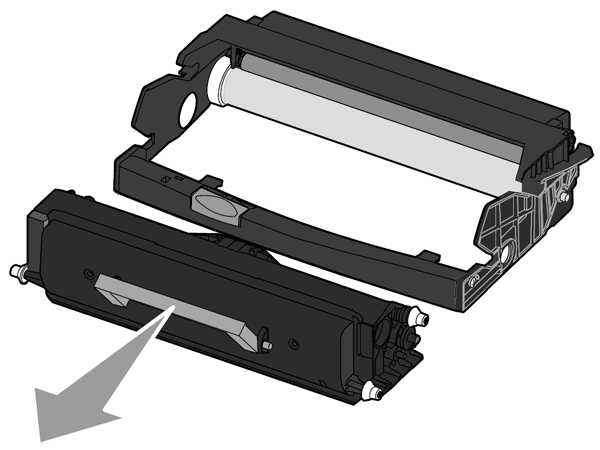
4 Pull the toner cartridge up and out using the handle.
5 Unpack the new imaging drum.
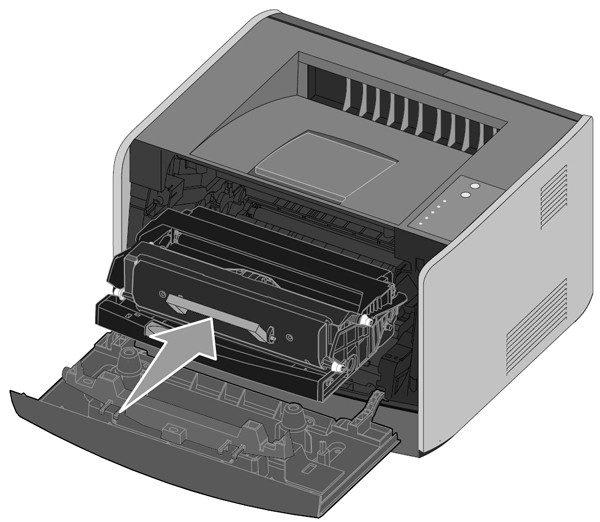
7 Install the toner cartridge assembly into the printer by aligning the blue arrows on the guides of the toner cartridge assembly with the blue arrows on the tracks in the printer and pushing the toner cartridge assembly in as far as it will go.
8 After you replace the imaging drum, you should reset the imaging drum’s counter. To reset the counter, press and hold the Cancel button until all lights flash in sequence. NOTICE: Resetting the imaging drum's counter without replacing the imaging drum may damage your printer and void your warranty.
|


 Ricoh 842280 Yellow Toner Cartridge


©2003-2024 Precision Roller. • 2102 West Quail Avenue, Suite 1 • Phoenix, AZ 85027 • (800) 323-9523 / (623) 581-3330 • M-F 8:00am - 4:30pm MST (noDST)
Individual brands are copyrighted by their respective owners. Precision Roller is in no way affiliated, sponsored or endorsed by these copyright owners or their affiliates or dealers
This website uses a secure server to encrypt all sensitive information.
Questions? Concerns? Send us a note at webmaster@precisionroller.com
This website uses a secure server to encrypt all sensitive information.
Questions? Concerns? Send us a note at webmaster@precisionroller.com