Order within the next
27 minutes
and your product will ship today!
Contact
Visit Precision Roller on Facebook
Follow Precision Roller on Twitter Watch Precision Roller on YouTube Follow Precision Roller on Pinterest
Save Today by Signing Up for Special Offers on Printer Ink, Toner, and Supplies

Removing the Spacer When Installing a New Style imageRUNNER ADF Hinge

Originally written for: Canon imageRUNNER 1023
Also applies to: Canon imageCLASS MF6530, MF6531, MF6540, MF6550, MF6560, MF6580, MF6590, MF6595, imageRUNNER 1023iF, 1023N, 1025, 1025iF, 1025N
  • Date:

    Jan 26, 2015

Contents
  1. Introduction
  2. Procedure
Introduction

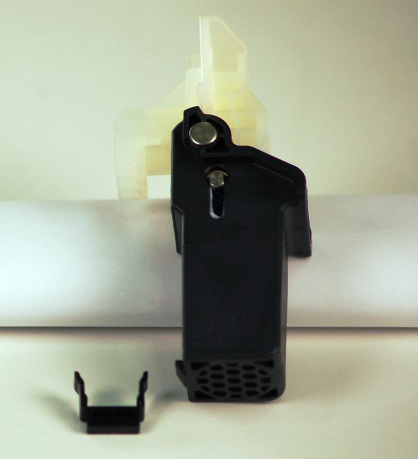
When installing a hinge unit with the new design on an ADF base frame with the new design, the spacer which comes preinstalled on the new hinge unit will not be required and must be removed.

Note:This step does not apply when installing the hinge unit on an ADF frame with the old design. When installing the hinge unit on an ADF base frame with the older design, the spacer which comes preinstalled on the new hinge unit will be required.

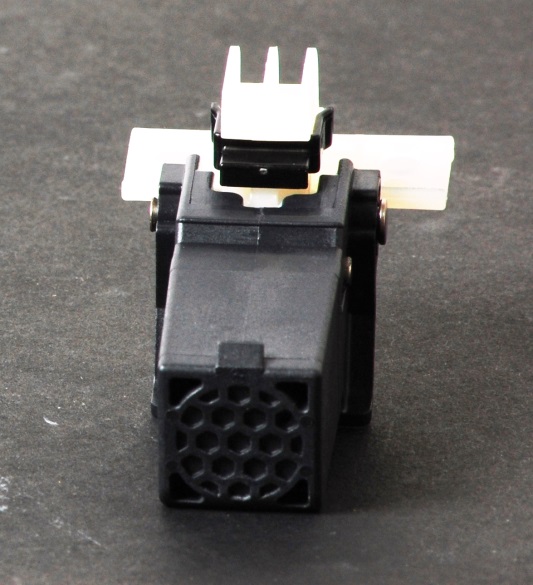
ADF hinge unit showing new design with spacers

New design of ADF hinge unit showing spacer New design of ADF hinge unit with spacer removed
(with spacer)
(spacer removed)
 
Procedure
  1.  
    Grasp hinge in one hand
    Step 1: Grasp the hinge in one hand
     
  2.  
    Using the other hand, pull the spacer downward from the white mounting bracket
    Step 2: Pull the spacer downward from the white mounting bracket.
     
  3.  
    Remove the spacer
    Step 3: Remove the spacer.
     
  • Publisher: Precision Roller