Orders placed by 4:00 PM MST get
SAME DAY SHIPPING
for items listed as in stock


|
HP PageWide Pro 552 Removing and Replacing HP Duplex Module
Originally written for: HP PageWide Pro 552dw
Also applies to: HP Pagewide Managed P55250dw, P57750dw, PageWide Pro 477dn MFP, 477dw MFP, 577dw MFP, 577z MFP
On the HP PageWide Pro 552 printer, once you have installed the duplex module, a reset will be required of the counter. Please follow the instructions below in order to properly install and reset the duplex module counter. To order your replacement Duplex Module for this printer, use the following part: G3289 (HP CN598-67004) ContentsIntroductionFor the duplex module and other supplies, HP uses a counter to notify when the expected useful life is done. This helps minimize duplex printing issues like jamming or skewing. Once you have installed the HP duplex module, a reset will be required of the counter. Please follow the instructions below in order to properly install the printer’s duplex module and reset the counter. Instructions
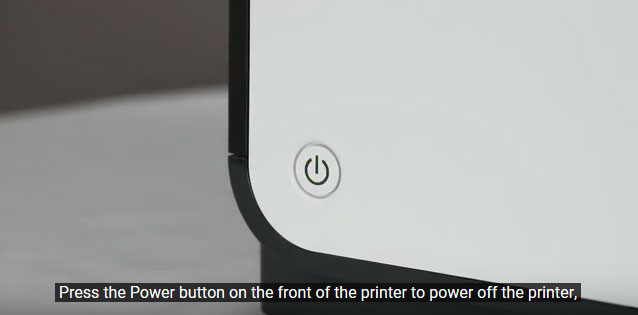
Press the power button on the front of the printer to power off your machine.
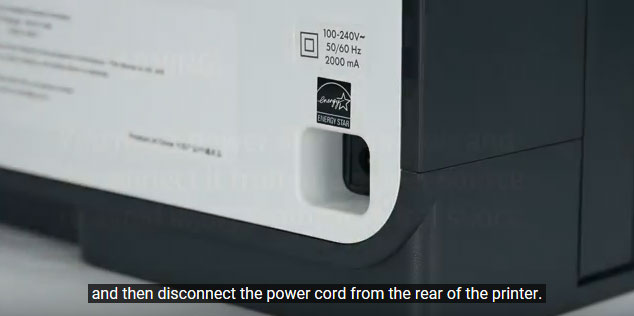
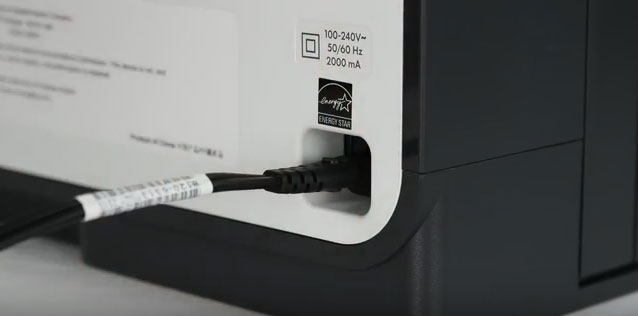
Disconnect the power cord from the rear of the printer.
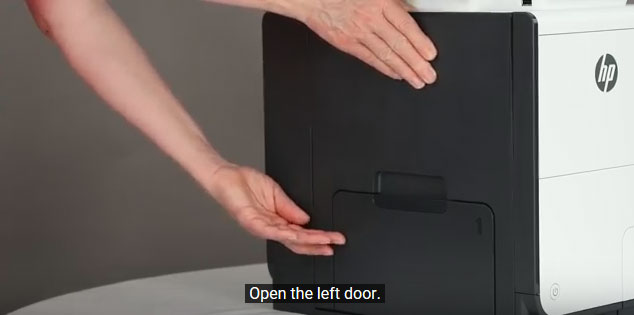
Open the door located on the left side of your HP machine.
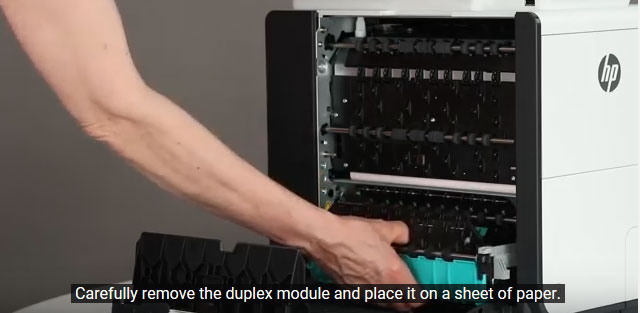
Remove the duplex module and place it to the side on a sheet of paper.
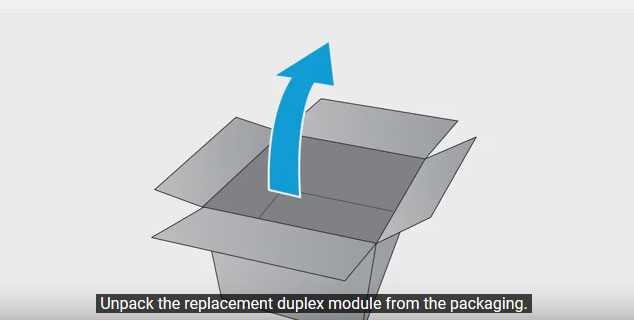
Unpack the replacement duplex module.
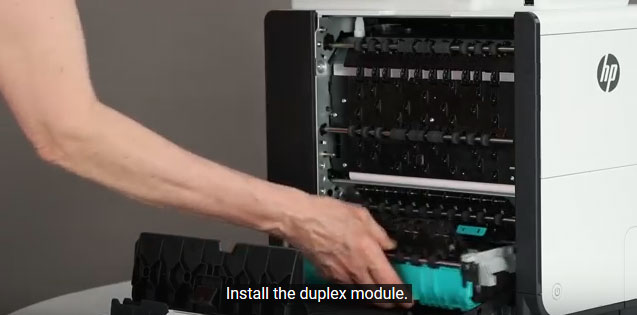
Install the duplex module but gently sliding the module into your HP machine. You should feel the module lock/click into place.
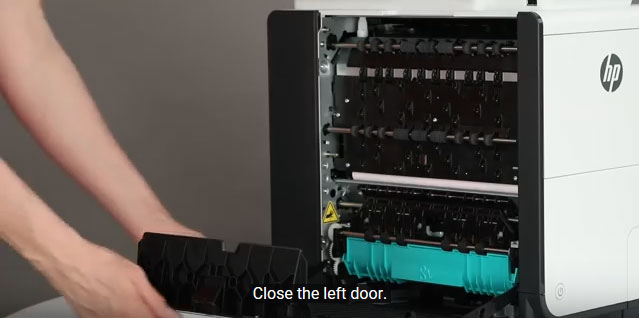
Close the left door.
Reconnect the power cord.
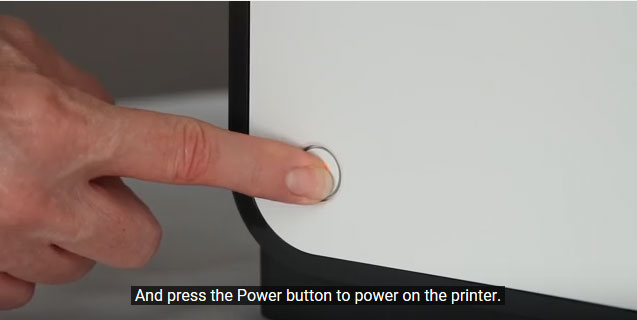
Press the power button to power on your machine.
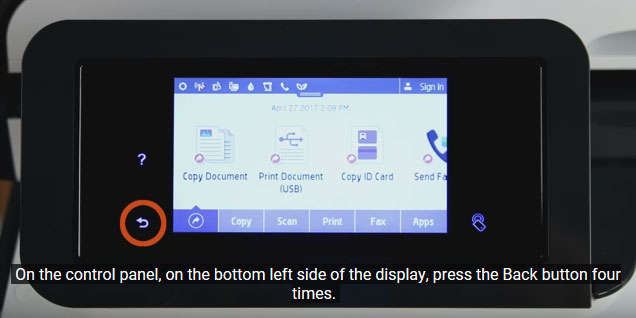
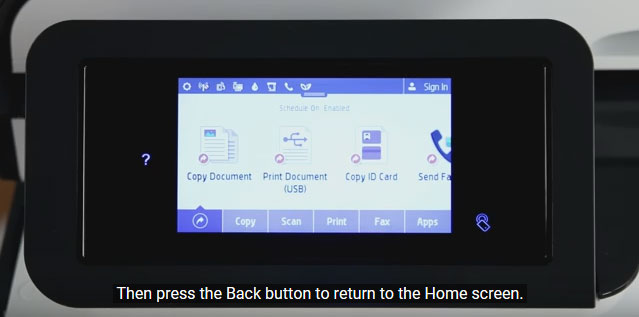
With your new duplex module installed and your printer powered up, press the back button four times on your HP control panel display. This button is located at the bottom left of your HP control panel display.
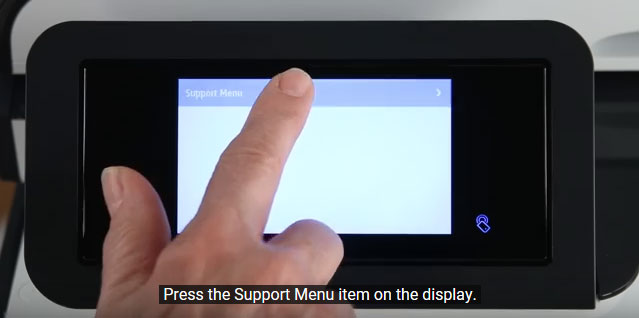
Press the Support Menu item on the display.
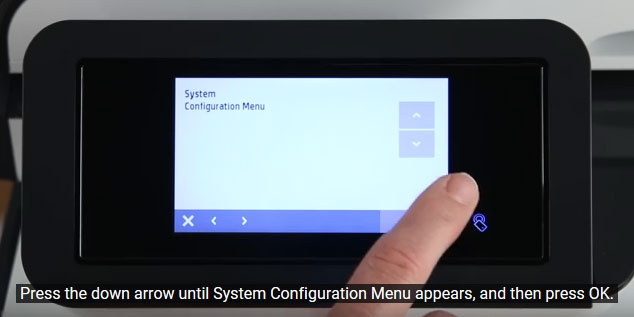
Press the down area until System Configuration appears, then press the OK button.
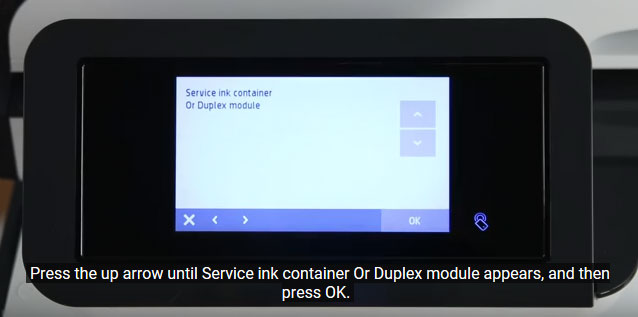
Press the up arrow until Service ink container Or Duplex module appears, and then press OK.
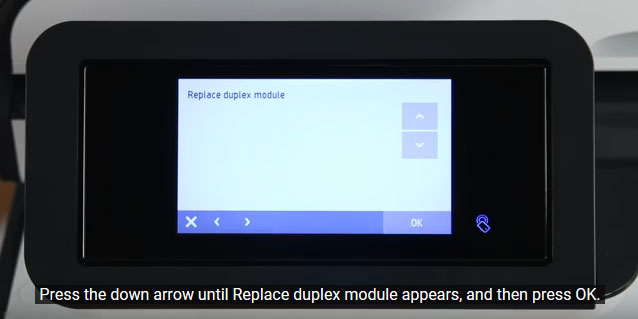
Press the down arrow until Replace duplex module appears on the menu, then press OK.
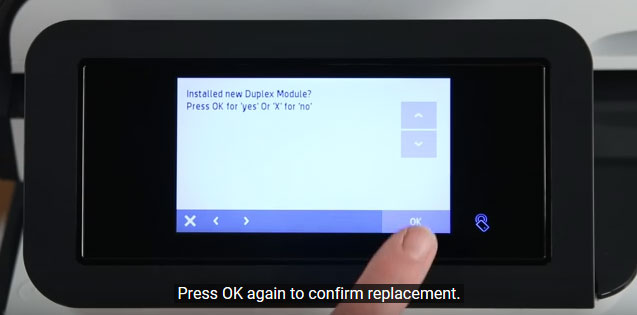
Press OK again to confirm replacement of the duplex module.
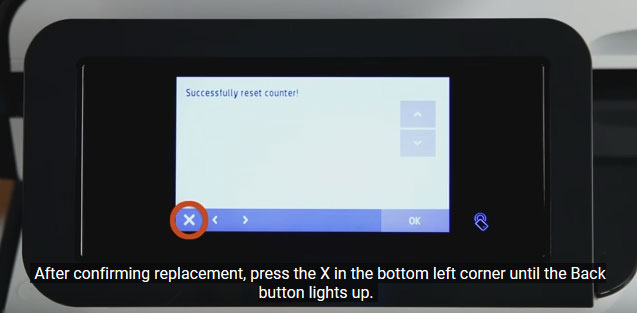
After confirming replacement, press the X button in the bottom left corner until the back button lights up.
Press the Back button to return to the Home screen.
|


 HP Fuser Unit - 100 / 120V - Refurbished with New Parts
