Originally written for: HP Color LaserJet Pro MFP M479fdw
Also applies to: HP Color LaserJet Enterprise MFP M480f, Pro MFP M479fdn, LaserJet Enterprise MFP M430f, Pro MFP 4101fdn, 4101fdne, 4101fdw, 4101fdwe, M428fdn, M428fdw
Ready to install the HP LaserJet Pro ADF Top Cover Assembly Kit? We’ve got you covered with our easy-to-follow instructions below!
Replacing K7706 ADF Top Cover Assembly Kit: [W1A77-67903] (PR# K7706)
This guide explains how to replace the K7706 ADF Maintenance Kit, used to replace the OEM part W1A77-67903. This version of the kit comes with the black inner cover and roller kit, but does not include the white outer cover on the ADF cover assembly.
Replacement Instructions
- Open the ADF cover.
- Unhook the black tab located on the front side of the ADF assembly to fully open the cover.
- Using a small flat-blade screwdriver, release the two hinges to remove the cover.
- With the entire cover removed, release the three white retaining tabs to detach the inner black cover.
- Grasp the gear end of the pickup shaft and carefully remove it from the black inner cover.NOTE: Save this part to reinstall onto the new replacement black inner cover.
- Locate the shaft retainer bushing (located at the gear end where the pickup shaft was).
- Remove the retainer bushing.NOTE: Save this part to reinstall onto the new replacement black inner cover.
- Unpack the replacement roller assembly and black inner cover. Slide the roller assembly into place until it clicks securely.
- Reinstall the ADF cover assembly by reversing steps 2 through 6 using the new black inner cover.
- Once the cover is reinstalled, locate the ADF separation pad assembly.
- Using a small flat-blade screwdriver, press the feet of the pad assembly up and forward (toward the ADF cover) to release it. Pull the assembly gently to remove.NOTE: Assembly is spring-loaded. When removing assembly, be careful not to allow spring to fall into printer.
- To replace the separation pad, remove the pad by releasing it from the tabs on each side, then attach the new pad to the tabs.
- Reinstall the assembly, ensuring the spring is positioned correctly. Make sure the assembly clicks solidly in place.
After completing these steps, ensure all components are properly seated and the ADF operates smoothly. Reattach any remaining covers and test the ADF for correct paper feeding.
- Publisher: Precision Roller


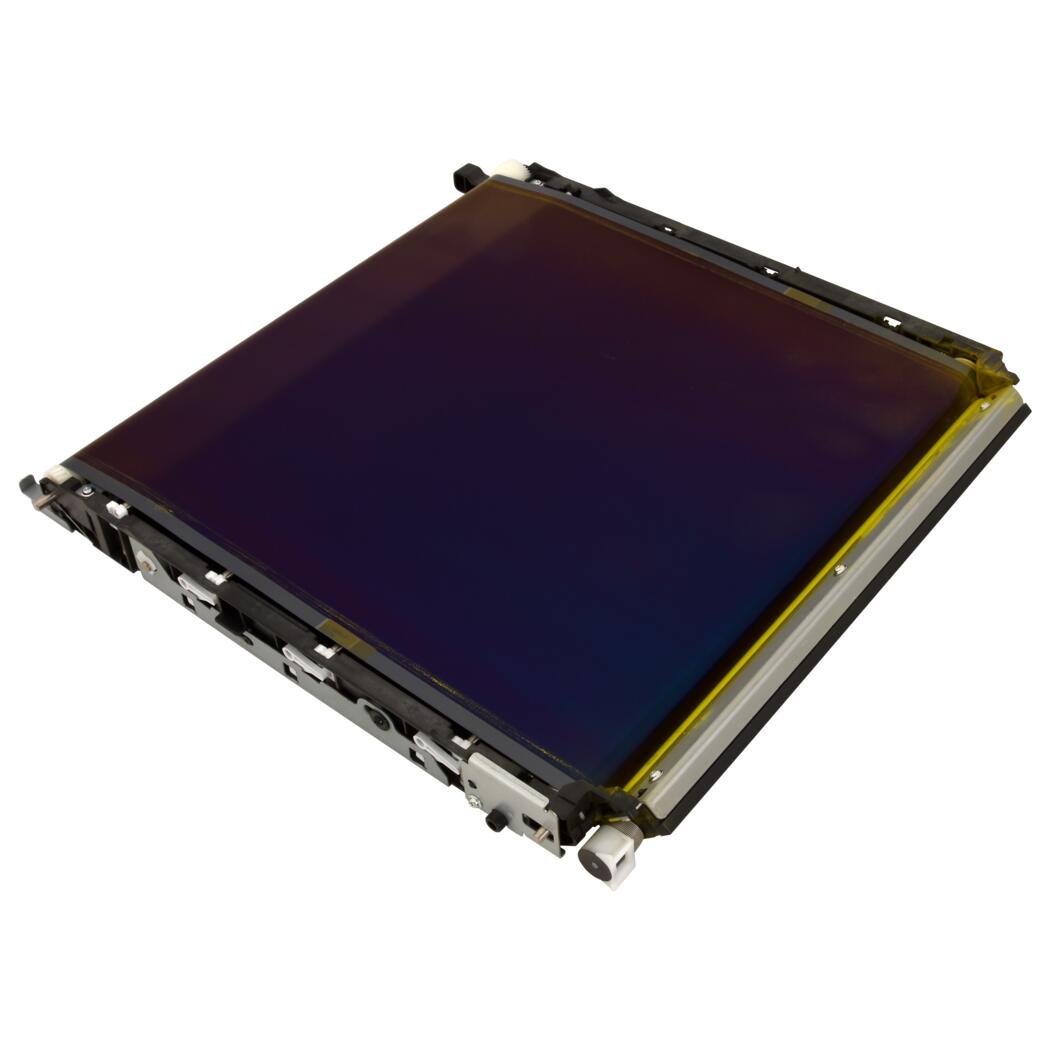 Konica Minolta Intermediate Image Transfer Unit


