


|
HP OfficeJet Pro X476 Removing and Replacing HP Duplex Module
Originally written for: HP OfficeJet Pro X476dn MFP
Also applies to: HP OfficeJet Pro X476dw MFP, X551dw, X576dw MFP

On the HP OfficeJet Pro X476, after installing the duplex module, a reset will be required of the counter. These instructions describe how to properly install and reset the duplex module counter. To order your replacement Duplex Module for this printer, use the following part: G3289 (HP CN598-67004) ContentsIntroductionHP uses a counter system to notify when the expected useful life of the duplex module is over. This helps limit duplex printing issues like jamming or skewing. Replacing the duplex module on this HP OfficeJet Pro X series printer is a simple task. The steps below will describe the replacement of the module, and the procedure to reset the counter after replacement is complete. Instructions
Press the power button on the front of the printer to power off your machine.
Disconnect the power cord from the rear of the printer.
Open the door located on the left side of your HP machine.
Remove the duplex module and place it to the side on a sheet of paper.
Unpack the replacement duplex module from the original packaging.
Install the duplex module by gently sliding the module into your HP machine. You should feel the module lock/click into place.
Close the left door.
Reconnect the power cord.
Press the power button to power on your machine.
With your new duplex module installed and your printer powered up, press the back button four times on your HP control panel display. This button is located at the bottom left of your HP control panel display.
Press the Support Menu item on the display.
Press the down arrow until System Configuration appears, then press the OK button.
Press the up arrow until Service ink container Or Duplex module appears, and then press OK.
Press the down arrow until Replace duplex module appears on the menu, then press OK.
Press OK again to confirm replacement of the duplex module.
After confirming replacement, press the X button in the bottom left corner until the back button lights up.
Press the Back button to return to the Home screen.
|


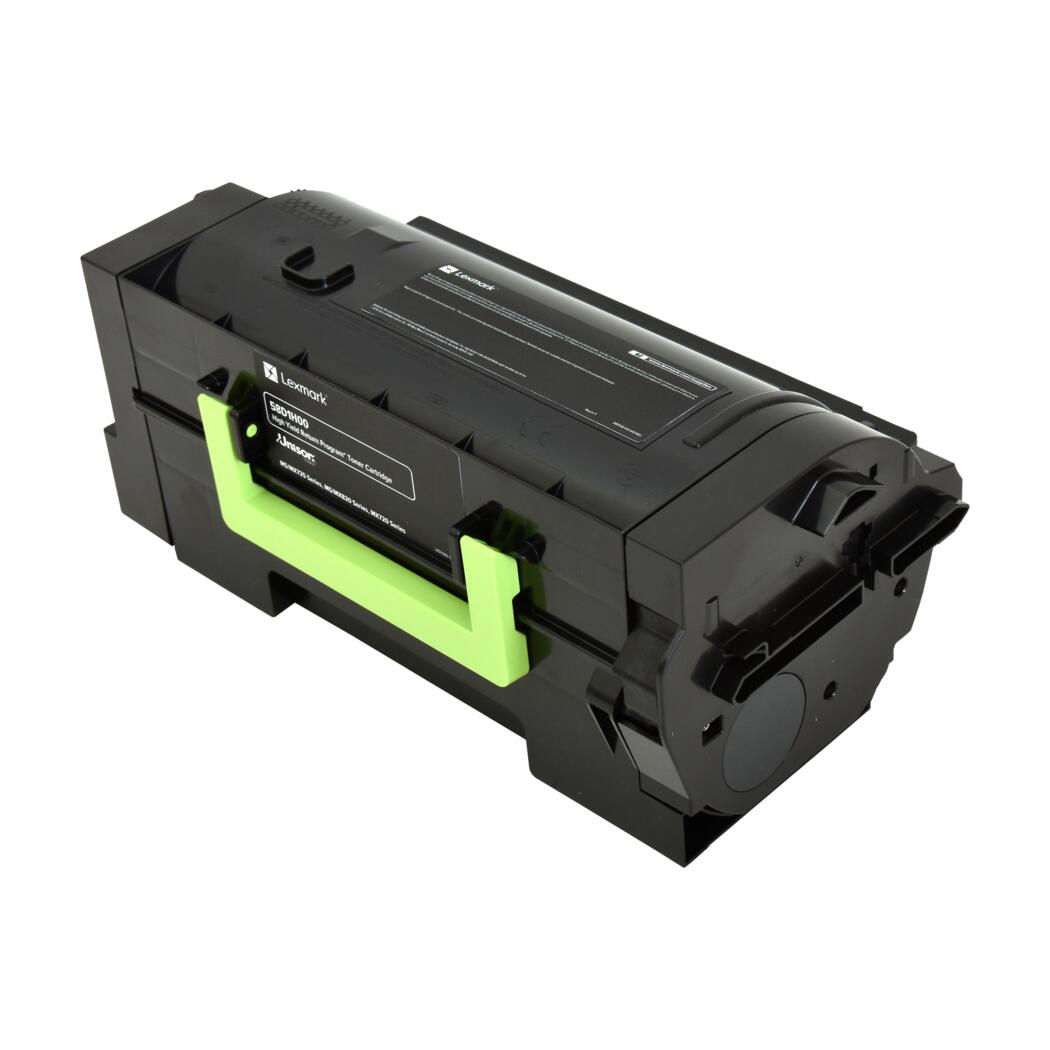 Lexmark Black High Yield Toner Cartridge


©2003-2026 Precision Roller. • 2102 West Quail Avenue, Suite 1 • Phoenix, AZ 85027 • (800) 323-9523 / (623) 581-3330 • M-F 7:30am - 5:00pm MST (noDST)
Individual brands are copyrighted by their respective owners. Precision Roller is in no way affiliated, sponsored or endorsed by these copyright owners or their affiliates or dealers.
This website uses a secure server to encrypt all sensitive information.
Questions? Concerns? Send us a note at webmaster@precisionroller.com
This website uses a secure server to encrypt all sensitive information.
Questions? Concerns? Send us a note at webmaster@precisionroller.com