


|
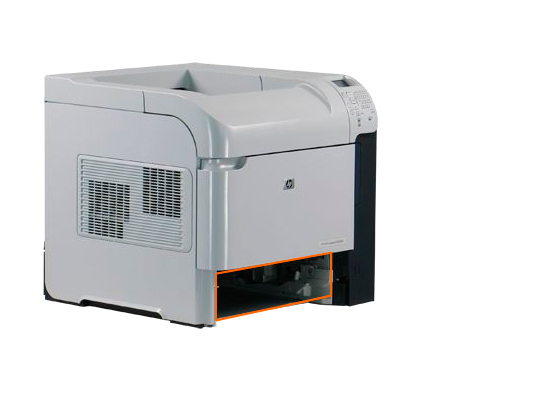
HP LaserJet P4015 Printer Roller Kit Instructions
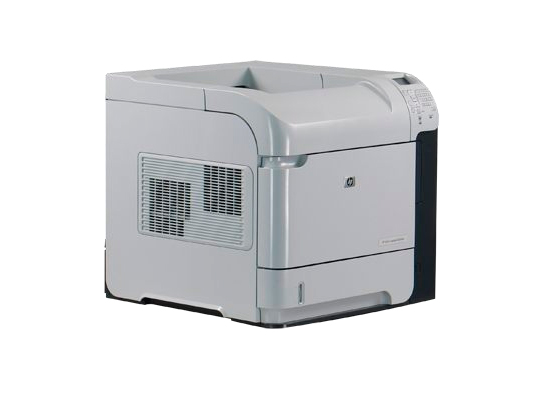
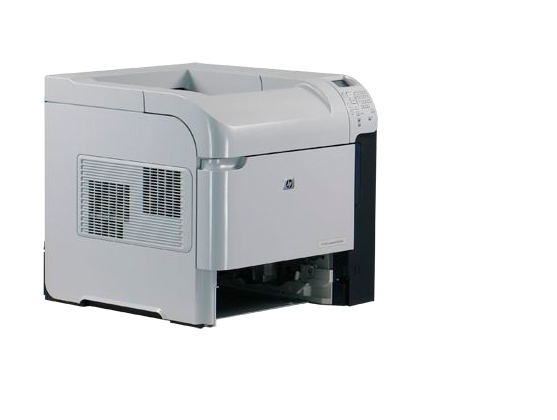
Originally written for: HP LaserJet P4015dn
Also applies to: HP LaserJet P4014, P4014dn, P4014n, P4015n, P4015tn, P4015x, P4515n, P4515tn, P4515x, P4515xm

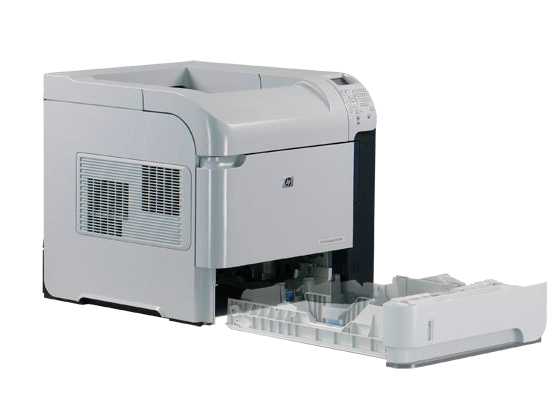
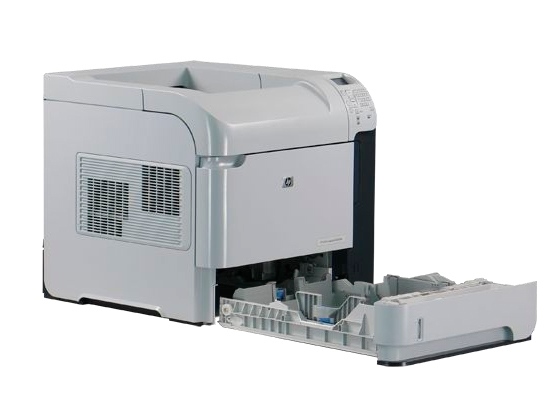
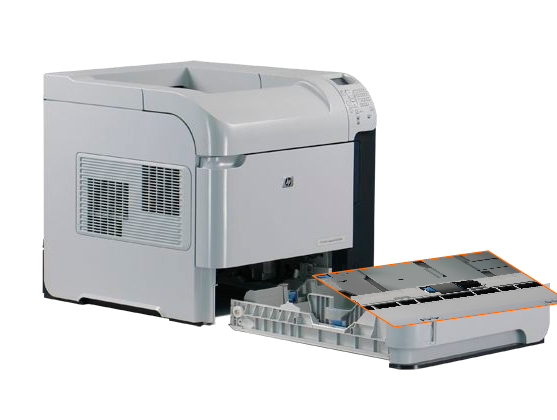
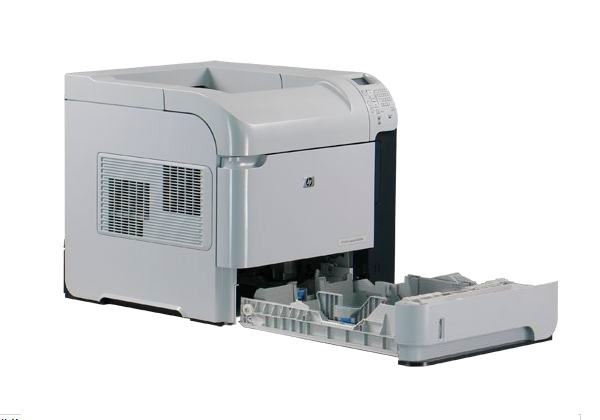
These instructions describe installation of the roller kit on an HP Laserjet P4015 and similar models. To order your replacement paper feed kit for this printer, use the following part: Z4990 (HP CB506-67905 Tray 1 Paper Feed Kit) Note: This article is written to provide instructions on the replacement of all components in the paper feed kit (pickup roller, feed roller, and separation roller). In the event that you may need to replace just one type of roller, the individual rollers are listed below: For the tray 1 feed roller only, use the following part: B8037 (HP RL1-1663-000 Feed Roller Tray 1) For the tray 1 pickup roller only, use the following part: B8038 (HP RL1-1641-000 Pickup Roller, Tray 1) For the tray 1 separation roller only, use the following part: B8036 (HP RL1-1654-000 Separation Roller Tray 1) Note: In the event that your printer contains multiple trays, the following kit is available for trays 2 through 6: Z1750 (HP CB506-67904 Paper Feed Kit) Step 1. Pull the tray half way out. Remove any existing media from the tray.
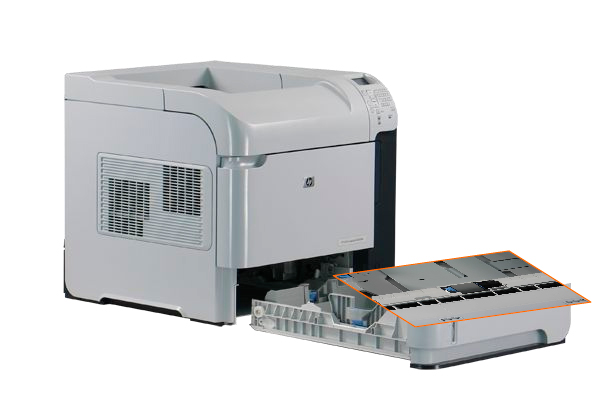
Step 2. Pull the tray all the way out until it stops. Then, angle the tray upward to remove it completely from the device.
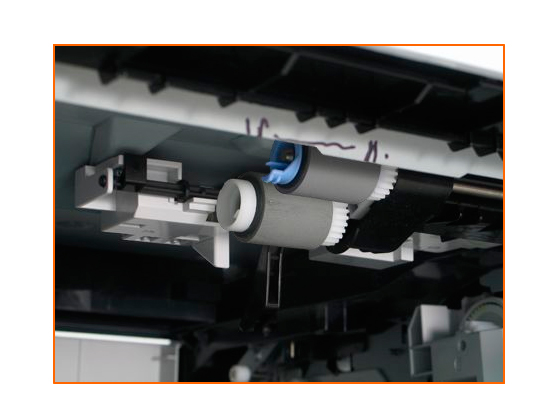
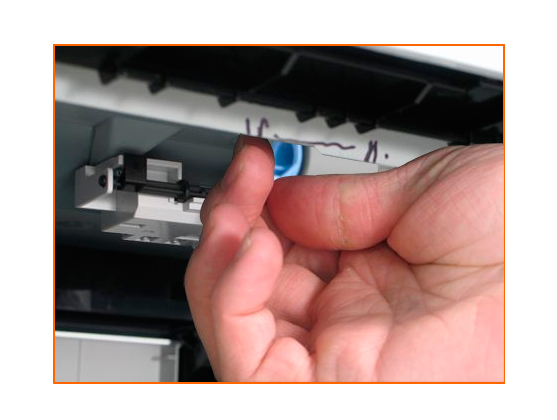
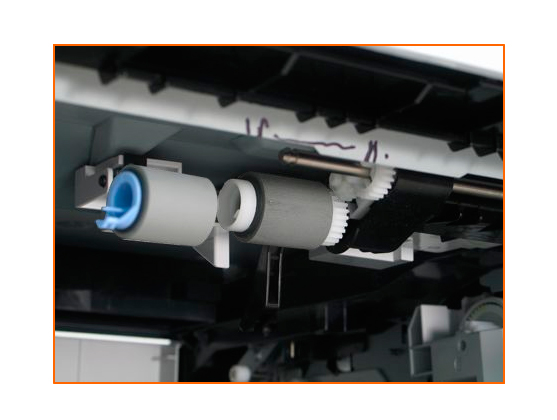
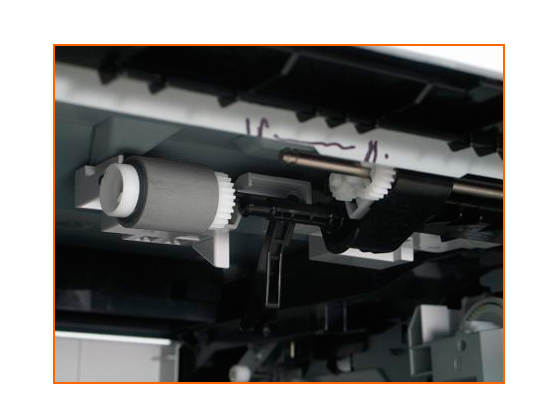
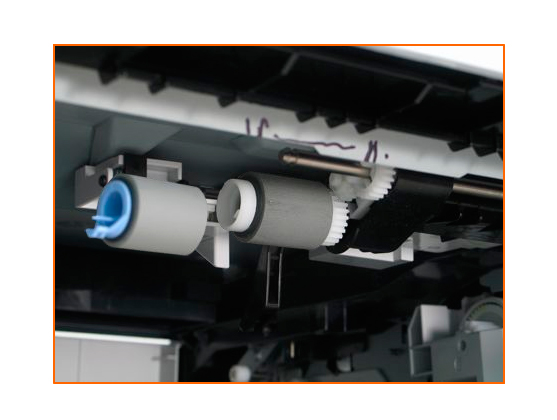
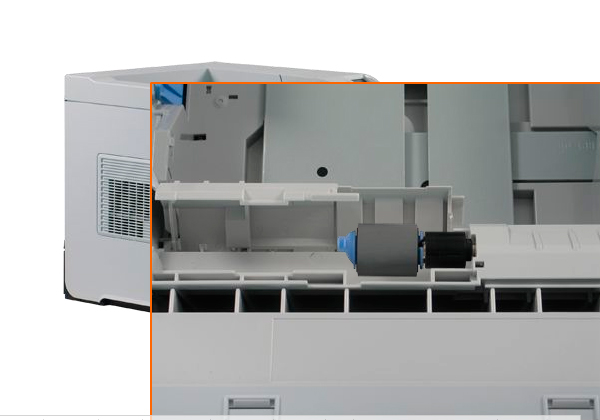
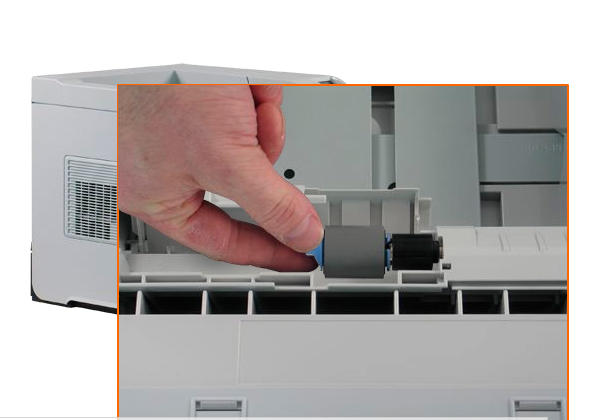
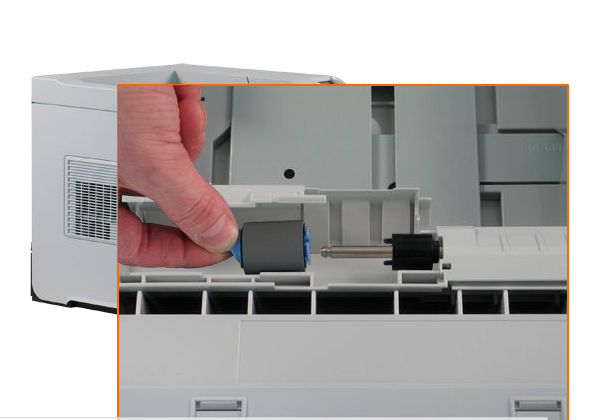
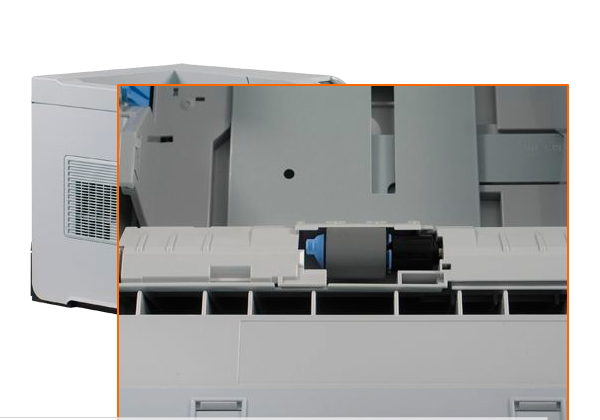
Step 3. Depress the blue tab on the feed roller to slide it off the rod.
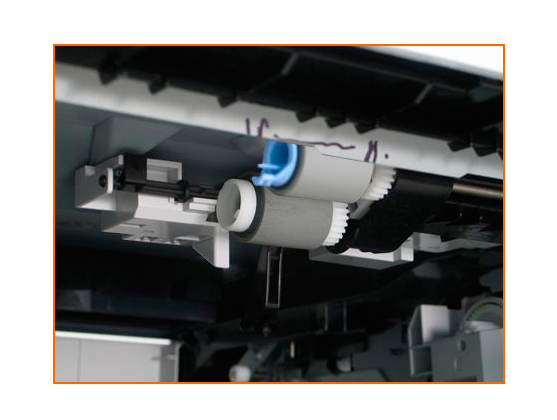
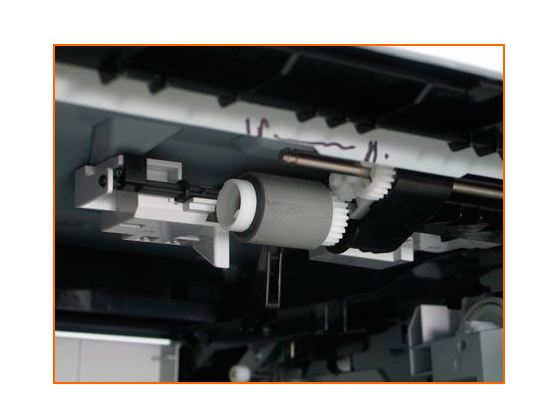
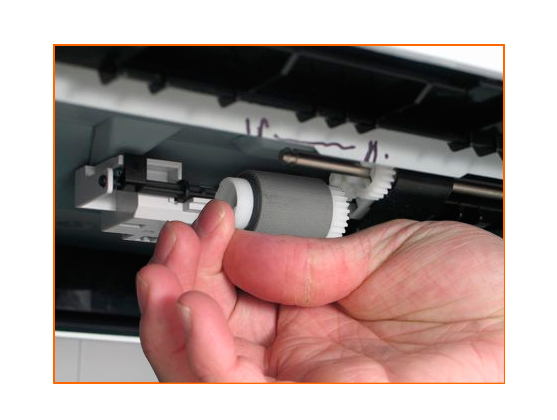
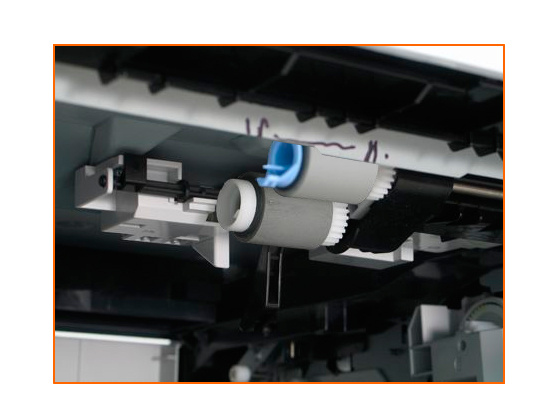
Step 4. Depress the white tab on the pick roller to slide it off of the rod.
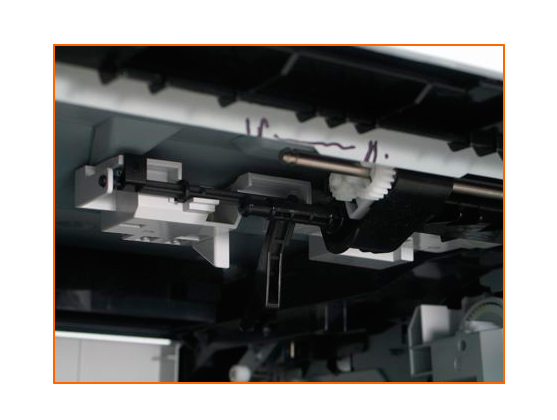
Step 5. Discard the old rollers.
Step 6. Unpack the replacement feed and pick rollers.
Step 7. Slide the replacement feed roller onto the metal rod until it clicks into place. Slide the replacement pick roller onto the plastic rod until it clicks into place.
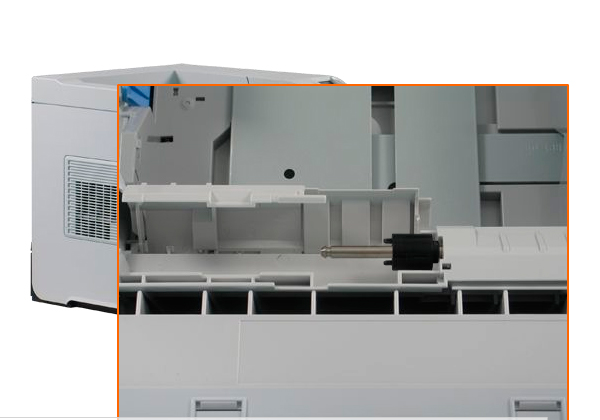
Step 8. On the tray, lift and hold the access door open in order to gain access to the separation roller.
Step 9. Depress the blue tab on the separation roller to slide it off of the rod. Use extreme caution as the torque limiter can easily slide off of the rod without the separation roller in place.
Step 10. Discard the old separation roller. Step 11. Unpack the replacement separation roller.
Step 12. Slide the replacement separation roller onto the metal rod until it clicks into place. Allow the access door to close.
Step 13. Align the tray onto the guide runners and slide it halfway into the device. Adjust the media guides and then reload media. Close the tray.
|


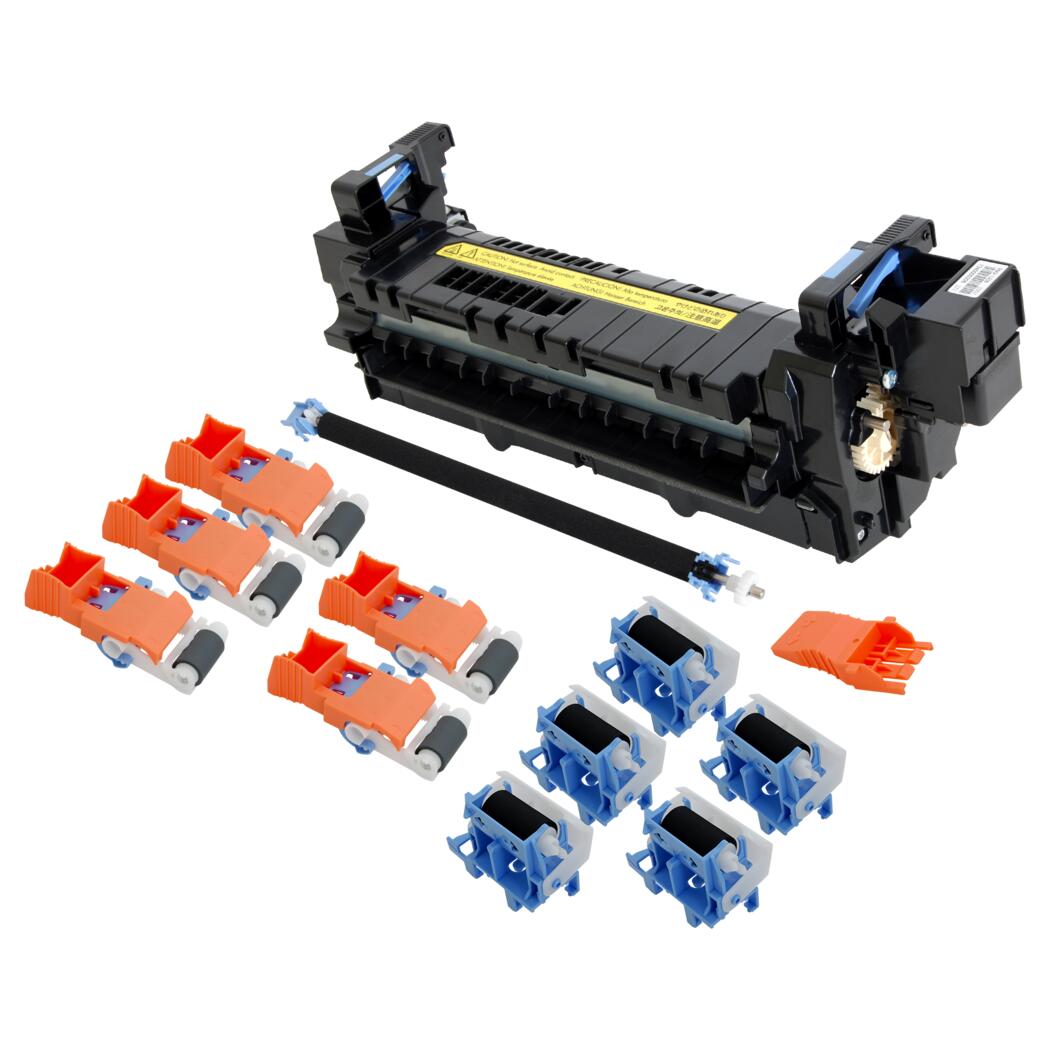 HP Fuser Maintenance Kit - 120V


©2003-2026 Precision Roller. • 2102 West Quail Avenue, Suite 1 • Phoenix, AZ 85027 • (800) 323-9523 / (623) 581-3330 • M-F 7:30am - 5:00pm MST (noDST)
Individual brands are copyrighted by their respective owners. Precision Roller is in no way affiliated, sponsored or endorsed by these copyright owners or their affiliates or dealers.
This website uses a secure server to encrypt all sensitive information.
Questions? Concerns? Send us a note at webmaster@precisionroller.com
This website uses a secure server to encrypt all sensitive information.
Questions? Concerns? Send us a note at webmaster@precisionroller.com