Originally written for: HP LaserJet 1200
These instructions explain removing the covers from an HP Laserjet 1200 and similar models.
Removing The Covers
Left Side Cover
1) Open the toner cartridge door.
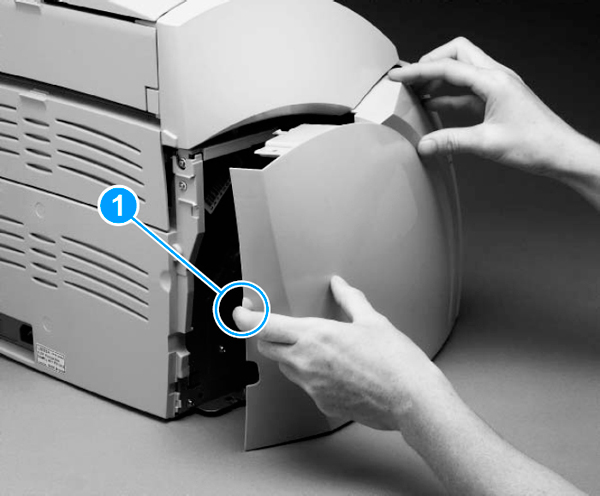
2) Pull out on the notch (callout 1) on the back of the cover.
3) Rotate the cover away from the printer.
Back Cover
4) Open the straight-through output door.
5) Remove two screws (callout 1) from the back of the printer.
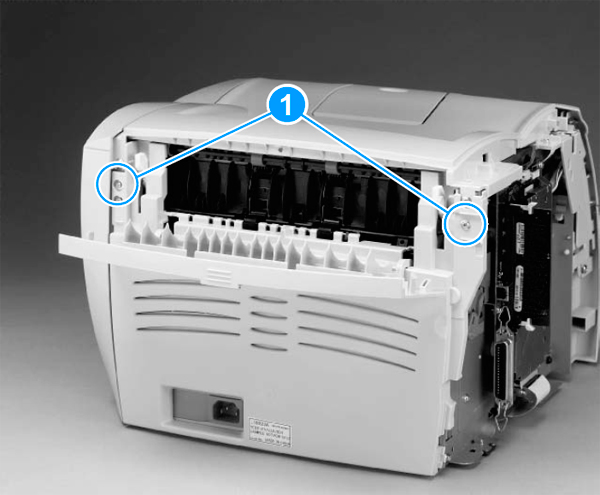
6) Press down and hold the two release levers (callout 1) and pull the cover off of the printer.
Note: The back cover has two tabs (not shown); one on each side of the printer. Step 6 releases these two tabs.
Right Side Cover
7) Open the toner cartridge door.
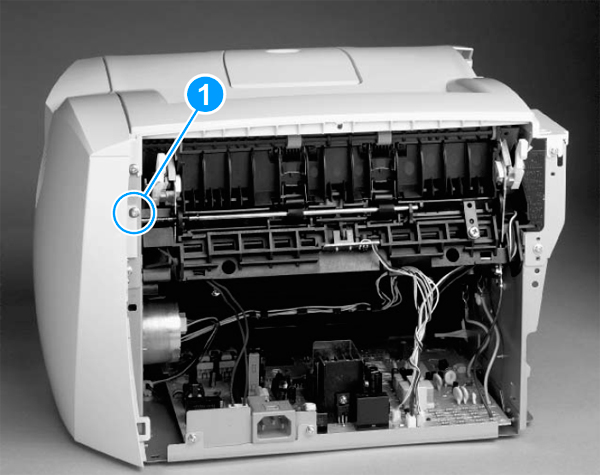
8) Remove one screw (callout 1) on the back of the printer.
9) Lift the right side of the printer and release the tab (callout 1) on the bottom of the cover.
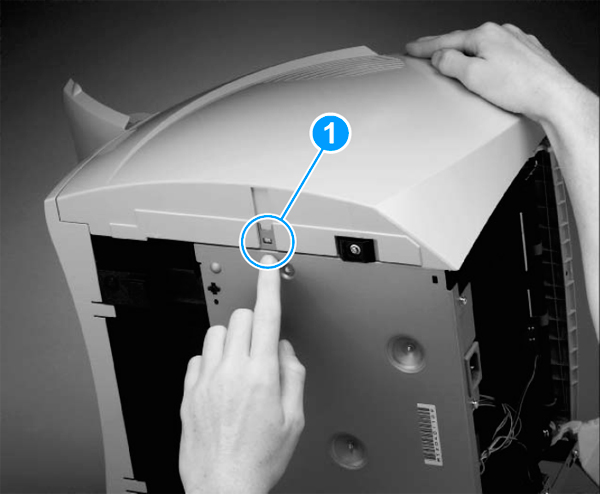
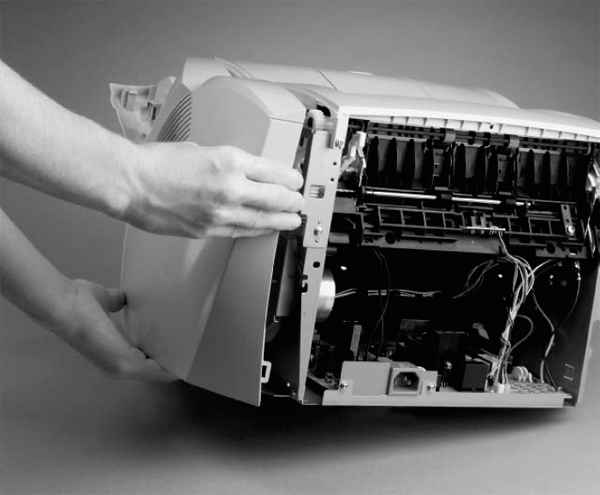
10) While continuing to press the release tab, grasp the top of the cover and rotate it away from the printer.
Top Cover
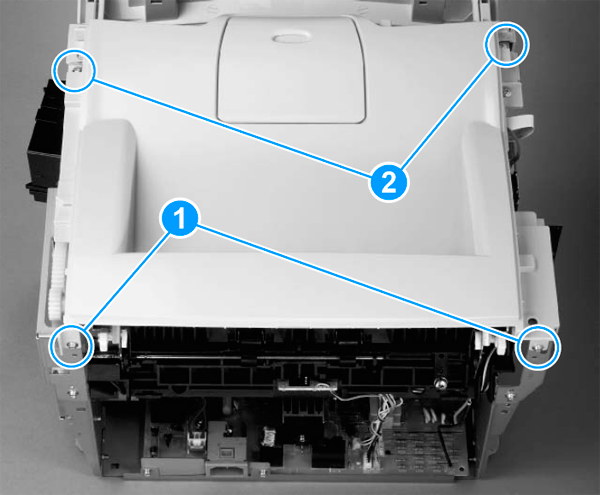
11) Loosen two screws (callout 1) on the back of the printer.
12) Remove two screws (callout 2) on the top of the printer.
13) Lift the cover off of the printer.
- Publisher: Precision Roller