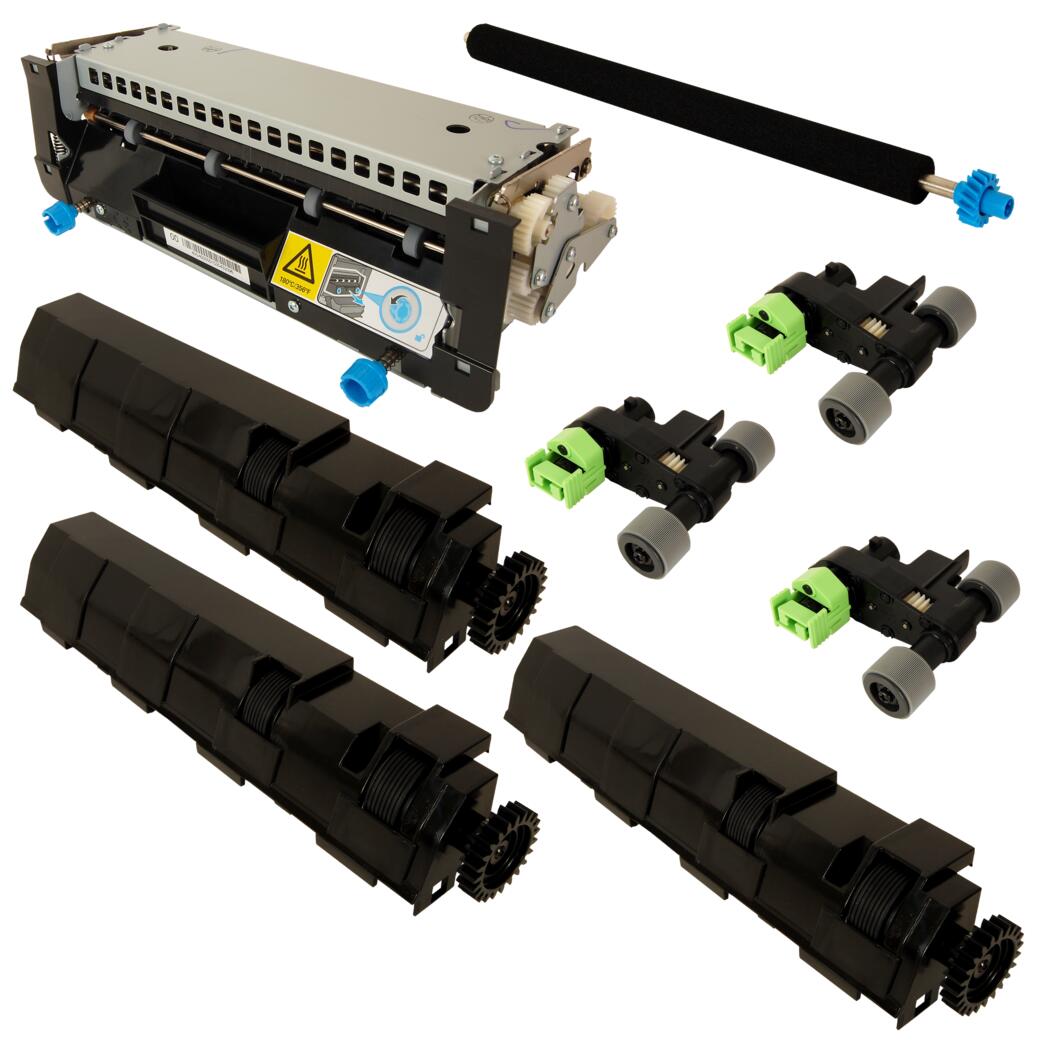
Contact
Visit Precision Roller on Facebook
Follow Precision Roller on Twitter Watch Precision Roller on YouTube Follow Precision Roller on Pinterest
Save 10% and Sign Up for Coupons on Printer Ink, Toner, and Supplies

HP Color LaserJet 2600N Transfer Belt Kit Instructions

Originally written for: HP Color LaserJet 2600n
Also applies to: HP Color LaserJet 1600
  • Date:

    Oct 11, 2013

These instructions explain installing the transfer belt kit on an HP Laserjet 2600N and similar models.

Before Installation:
Turn the power off and unplug the power cord from the printer.

Removing the Transfer Belt Unit
Remove tray 2 from the printer.


Remove the two screws from the right cover assembly.

Remove one screw from the left cover assembly.

Open the front door.

Release the tab on the inside of the cover.

Remove the right cover by carefully twisting the front edges of the side covers outward to remove.

Remove the left cover.


Squeeze the white link lever on the left side and then remove the left cover.


Remove the screw on the left white plastic catch, and then remove the plastic catch.


Remove the screw on the right white plastic catch, and then remove the plastic catch.


Close the Transfer Belt Unit.

Remove the small black cable cover on the left side of the printer by carefully snapping it out of place.


Remove one (1) grounding screw from the Transfer Belt Unit harness.

Pull out the white wire holder by pushing it up.

Pull out the Transfer Belt Unit connector.

Remove the left screw from hinge cam.

Remove the right screw from hinge cam.

Using needle-nose pliers, remove the hinge from the right hinge cam.

Using needle-nose pliers, remove the hinge from the left hinge cam.

Remove the Transfer Belt Unit.


Installing the Transfer Belt Unit
Install the new Transfer Belt Unit.

Install the left hinge cam once the left hinge cam is installed reinstall the screw.


Install the right hinge cam once the left hinge cam is installed reinstall the screw.


Install the small black cable cover on the left side of the printer by carefully snapping it into place.


Install the one (1) grounding screw to the Transfer Belt Unit harness.

Install the Transfer Belt Unit connector.

Install the white wire holder by pushing it in to the empty slot.

Install the plastic catch the install the screw on the left white plastic catch.


Install the plastic catch the install the screw on the left white plastic catch.

Install the right cover.


Install the two screws on the right cover assembly.

Install the right cover.


Install the one screw to the left cover assembly.

Close the front cover.

Install tray 2 into the printer.


  • Publisher: Precision Roller