Originally written for: HP LaserJet 4000
Also applies to: HP LaserJet 4000n, 4000se, 4000t, 4000tn, 4050, 4050n, 4050se, 4050t, 4050tn
These instructions explain removing the right front cover of an HP Laserjet 4000 and similar models.
Step 1. Release the latch at the top center of the cover.
Step 2. Lift the cover straight up until it is free of the tabs at the bottom and the power switch rod, then pull it away from the printer.
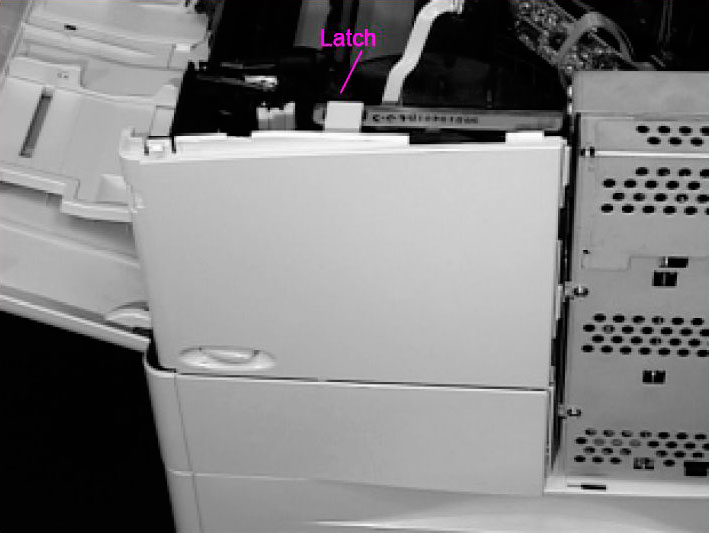
Note: When you reinstall the front right side cover, be sure to reconnect the power switch rod.
- Publisher: Precision Roller


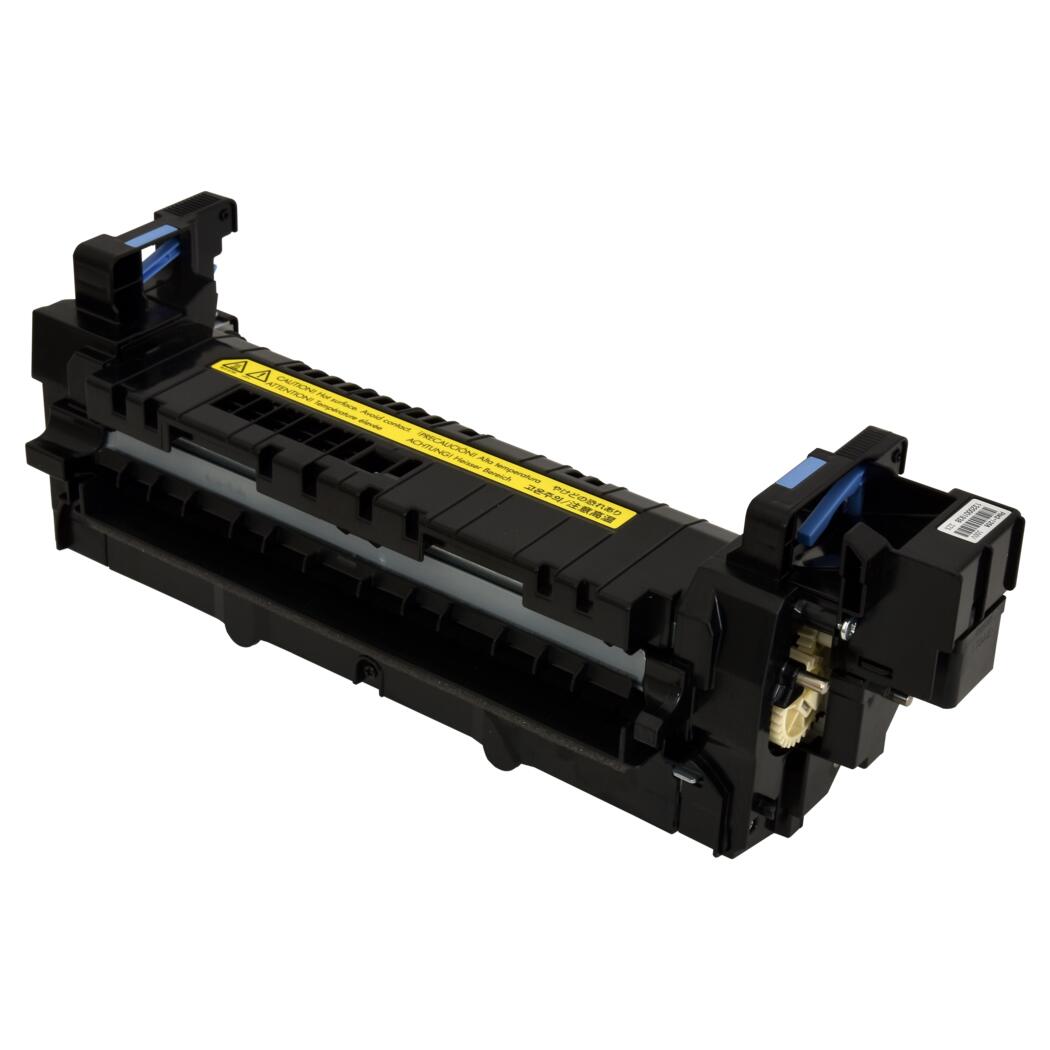 HP Fuser Unit - 100 / 120V - Refurbished with New Parts


