


|
HP LaserJet 4000 Removing the Fuser Section
Originally written for: HP LaserJet 4000
Also applies to: HP LaserJet 4000n, 4000se, 4000t, 4000tn, 4050, 4050n, 4050se, 4050t, 4050tn

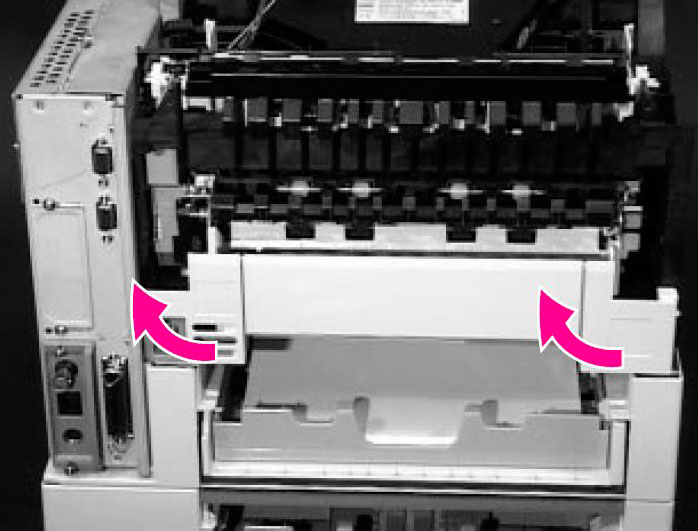
These instructions explain removing the fuser section of an HP Laserjet 4000 and similar models. The order in which assemblies are replaced depends solely on the part needing replacement. It is not necessary to remove every assembly. Fuser WARNING! Let the Fuser Assembly cool before disassembly. Note: To order a new fuser assembly for this printer, use the following part: E9781 (HP RG5-2661-000, RG5-2661-090, RG5-2661-490, C4118-69011) 1. Remove the Rear Cover/Rear Output Bin. Removing the Left and Right Duplex Connector Covers
2. If a Duplexer is installed, remove it. If a Duplexer is not installed, remove the Left and Right Duplex Access Covers from the rear of the printer by pulling each from the bottom. Loosening the Captive Screws in the Fuser Assembly
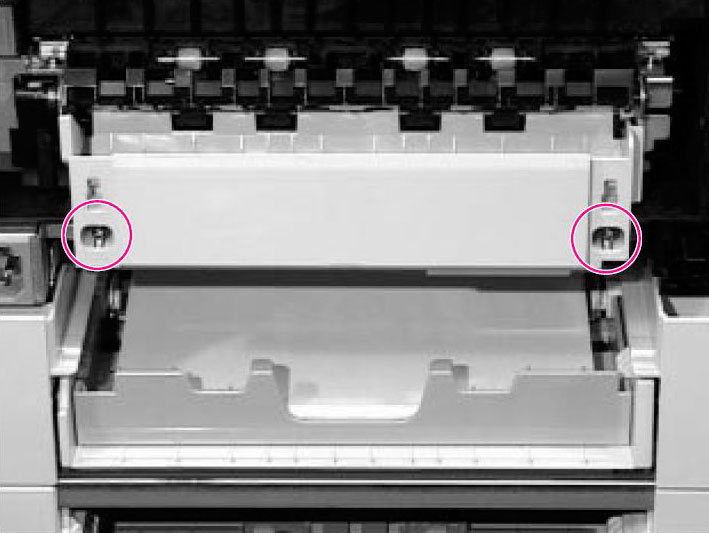
3. Loosen the two captive screws on the Fuser Assembly. 4. Pull the Fuser Assembly straight out of the printer.
|


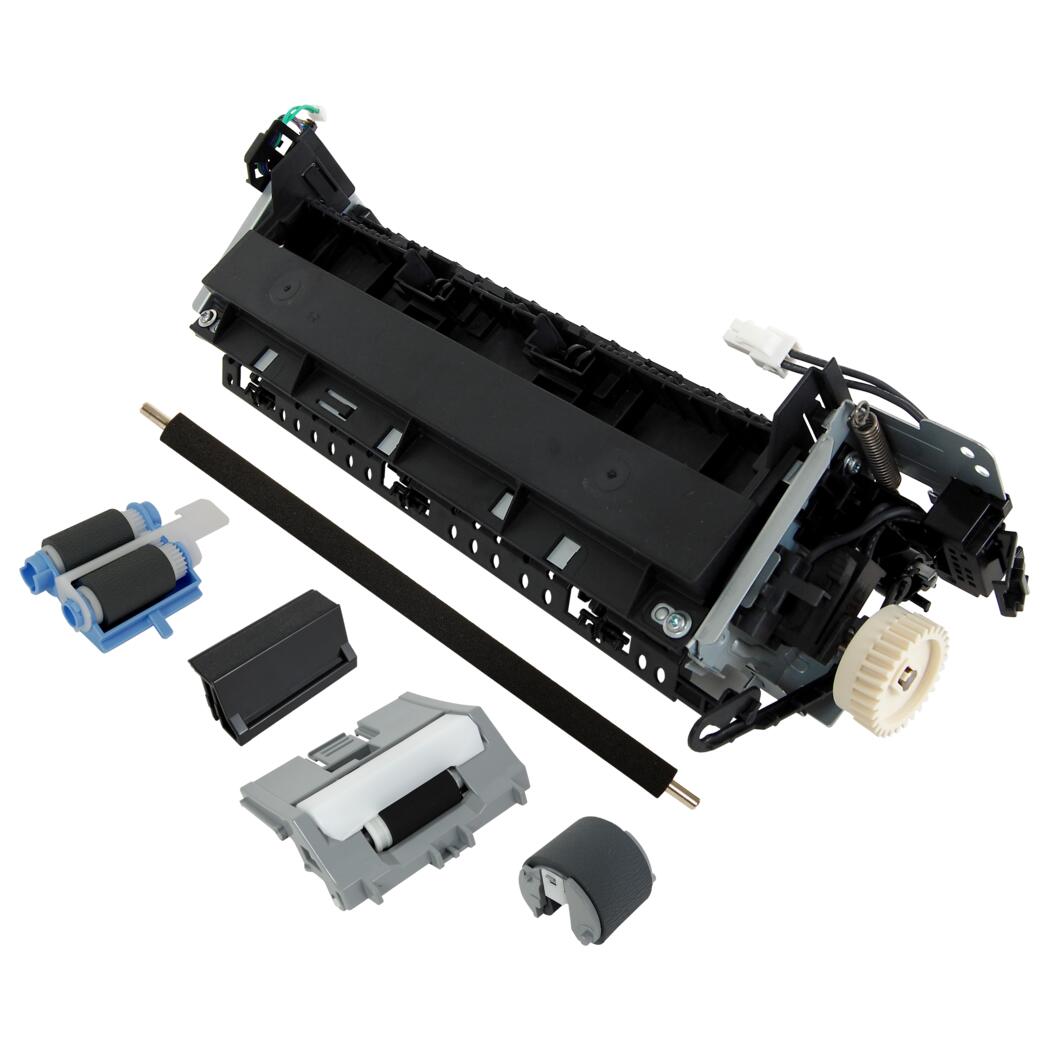 HP Fuser Maintenance Kit - 120V

©2003-2026 Precision Roller. • 2102 West Quail Avenue, Suite 1 • Phoenix, AZ 85027 • (800) 323-9523 / (623) 581-3330 • M-F 7:30am - 5:00pm MST (noDST)
Individual brands are copyrighted by their respective owners. Precision Roller is in no way affiliated, sponsored or endorsed by these copyright owners or their affiliates or dealers.
This website uses a secure server to encrypt all sensitive information.
Questions? Concerns? Send us a note at webmaster@precisionroller.com
This website uses a secure server to encrypt all sensitive information.
Questions? Concerns? Send us a note at webmaster@precisionroller.com