Contact
Visit Precision Roller on Facebook
Follow Precision Roller on Twitter Watch Precision Roller on YouTube Follow Precision Roller on Pinterest
Save 10% and Sign Up for Coupons on Printer Ink, Toner, and Supplies

HP LaserJet 4000 Maintenance Kit Instructions

Originally written for: HP LaserJet 4000
Also applies to: HP LaserJet 4000n, 4000se, 4000t, 4000tn, 4050, 4050n, 4050se, 4050t, 4050tn
  • Date:

    Sep 06, 2013

These instructions will help explain maintenance kit installation steps for an HP Laserjet 4050 and similar models.

Contents
  1. Introduction
  2. Replacing the fuser assembly
  3. Replacing the transfer roller
  4. Replacing the tray 1 (multi-purpose tray) pick-up roller
  5. Replacing the feed rollers in paper cassette bays
  6. Replacing the separation rollers in paper cassettes
  7. Resetting the printer’s maintenance counter
Introduction

For HP LaserJet 4000 and LaserJet 4050 series printers, Hewlett Packard recommends the installation of a maintenance kit after every 200,000 pages printed. While this is a good recommendation, the time to install a new maintenance kit will vary depending on printing conditions. For example, if the printer is in a dusty environment, if paper is used that produces higher then normal levels of paper dust, or if low-quality aftermarket components are used, the estimated pages may drop significantly.

These four regular maintenance items are available in the HP Laserjet 4000 maintenance kit (PN E1883)

This kit includes:

Replacing the fuser assembly

Removing the fuser assembly

  1. Turn the printer off and unplug the power cord.

    Caution: If you have been using the printer, the fuser section will be hot.  Please wait 30 minutes before starting.
  2. If a duplexer is installed, remove it from the back of the printer. If a duplexer is not installed, remove the two plastic duplexer connector covers shown below. Pull the bottom edge out first.

    Two plastic duplexer connector covers
    Two plastic duplexer connector covers
  3. Next, open the rear output tray cover as shown below. Carefully flex the plastic tray slightly to remove one side, then remove the tray from the printer.

    Remove rear output tray
    Remove rear output tray
  4. Loosen the two fuser assembly screws shown in the image and slide the fuser straight out.

    Fuser assembly screws
    Fuser assembly screws

Reinstalling the fuser assembly

  1. To install the replacement fuser, align the left side, then slide the fuser into the printer until fully seated.

  2. Tighten the two fuser assembly screws.

  3. Replace the rear output tray and duplexer covers (or duplexing unit, if you removed one).

Replacing the transfer roller

Removing the transfer roller

  1. Looking at the front of the printer, open the top cover and remove the toner cartridge.

  2. Use the hook end of the blue transfer roller removal tool provided in the kit to hook under and carefully lift the left and right ends of the transfer roller up out of the retaining clips.

  3. Remove the transfer roller from the printer.

    Transfer roller
    Transfer roller
    Please note: When handling the replacement transfer roller, do not touch the black roller surface. Oil from your skin can adversely affect print quality. Handle the transfer roller by the ends, or use latex gloves to keep the surface clean.

Reinstalling the transfer roller

  1. On the gear end of the replacement transfer roller, there is a black plastic collar.  Rotate this collar so the open end faces down, then install the new transfer roller into the printer with the gear toward the left.

  2. Press down on the roller until both ends snap into the clips.

Replacing the tray 1 (multi-purpose tray) pick-up roller

Removing the tray 1 pick-up roller

  1. With the toner cartridge out of the printer, open tray 1 (the multi-purpose tray). Remove the plastic cover above the roller, marked by a number 4 in many models, by pulling straight out.

    Toner cartridge removed Pull cover straight out
    Toner cartridge removed
    Pull cover straight out
     
  2. Next, gently pry downward on the blue tab on the pick-up roller using a flat-blade screwdriver to release the pick-up roller, then lift the roller straight up off of the shaft and remove it from the printer.

    Remove pick-up roller
    Remove pick-up roller

Reinstalling the tray 1 pick-up roller

  1. When installing the replacement pick-up roller, make sure the blue tab is facing you and the pin is seated in the shaft.

    Pin seated in shaft
    Pin seated in shaft
Replacing the feed rollers in paper cassette bays
Note: The feed rollers and separation rollers on a LaserJet 4000 or a LaserJet 4050 series printer are identical. Each lower tray uses one feed roller and one separation roller. If you have one lower tray, you will only use two rollers. Printer models that end in T (4000T or 4050T) were originally equipped with a built-in additional tray.  These models or models with an optional add-on paper cassette will use four rollers. A 4000T or 4050T that also has an optional add-on lower cassette will use all six of the rollers provided in the kit.
  1. Remove the paper tray(s) from the printer and place near the edge of the work surface to allow easy access to the underside of the paper tray bay.

  2. Remove the feed roller by pinching the blue lock tab on the roller, then sliding the roller off the left end of the shaft.

    Pinch tabs and pull roller out
    Pinch tabs and pull roller out
  3. Slide the replacement roller in place and repeat the process for each additional cassette bay, if equipped.

Replacing the separation rollers in paper cassettes
  1. With the paper cassette out of the printer, remove the paper tray access panel by pressing the release tab (circled below) toward the back end of the tray, then swing the panel upward.

    Remove paper tray
    Remove paper tray
  2. Remove the separation roller by pinching the blue lock tab and sliding the roller off the end of the shaft.

  3. Slide the replacement roller in place and repeat the process for each additional cassette, if equipped.

Resetting the printer’s maintenance counter

After the expected life of the maintenance kit items, the printer will display a message recommending printer maintenance. After installing the maintenance kit parts, you will need to reset the counter to turn off the reminder. To reset the counter, power on the printer while holding down the left side (minus side) of the “Item” button and the left side of the “Value” button. After “RESET MAINTENANCE COUNTER” is displayed, release both buttons.

Note: Some formatter board versions do not recognize the above steps to reset the counter.  On these printers, the maintenance counter must be reset through the service mode.
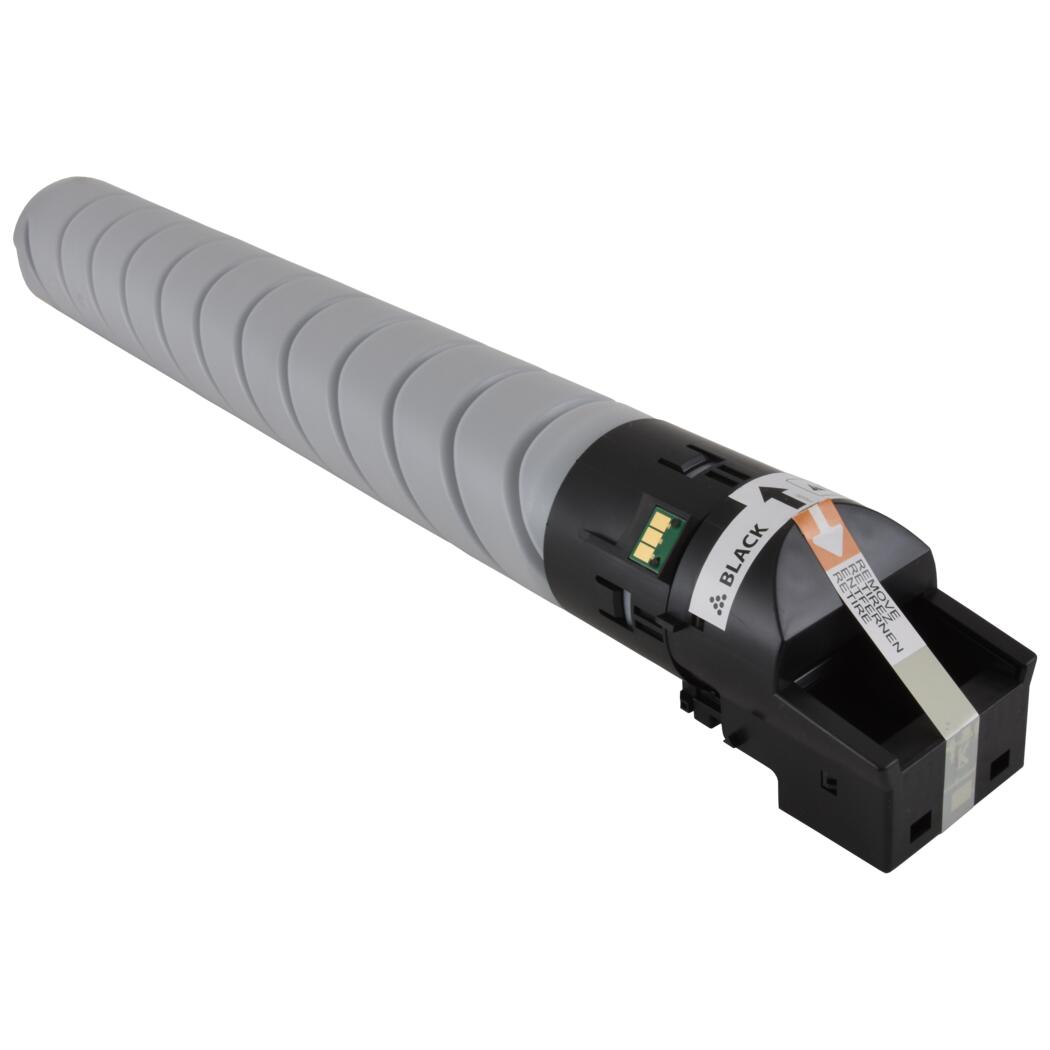
  • Publisher: Precision Roller