


|
Canon ImageRunner 2016/2016i Drum Unit Rebuilding Instructions
Originally written for: Canon imageRUNNER 2016

These instructions describe how to rebuild the drum unit for a Canon ImageRunner 2016 and similar models.
Rebuilding Kit Contents:
RECOMMENDED TOOLS AND MATERIALS:
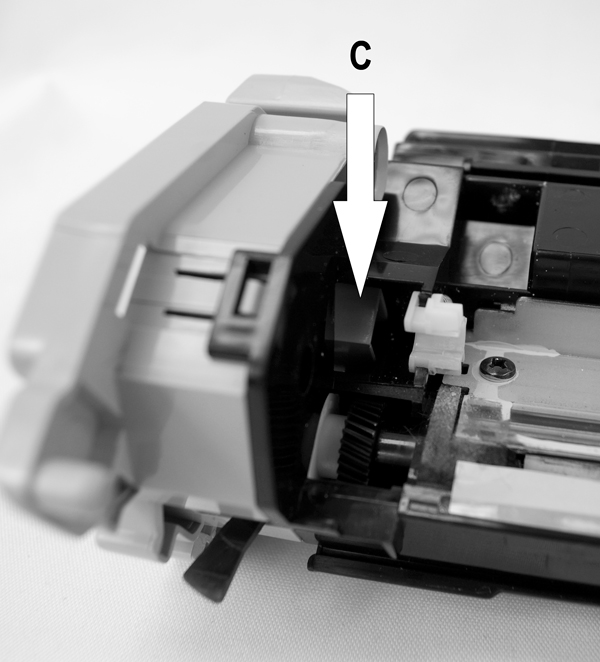
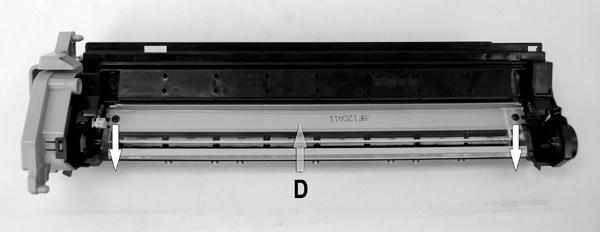
(Note: All recommended tools and materials are available from Precision Roller) DISASSEMBLYNOTE: Follow these instructions carefully. The quality and performance of this product will depend on your workmanship as well as the condition of the used unit being rebuilt.
REBUILDING
|


 Ricoh Staples - Box of 3

©2003-2026 Precision Roller. • 2102 West Quail Avenue, Suite 1 • Phoenix, AZ 85027 • (800) 323-9523 / (623) 581-3330 • M-F 7:30am - 5:00pm MST (noDST)
Individual brands are copyrighted by their respective owners. Precision Roller is in no way affiliated, sponsored or endorsed by these copyright owners or their affiliates or dealers.
This website uses a secure server to encrypt all sensitive information.
Questions? Concerns? Send us a note at webmaster@precisionroller.com
This website uses a secure server to encrypt all sensitive information.
Questions? Concerns? Send us a note at webmaster@precisionroller.com