










|
Canon DR-G2110 imageFORMULA Scanner Exchange Roller Kit Installation
Originally written for: Canon DR-G2110 imageFORMULA Scanner
Also applies to: Canon DR-G2110 USB imageFORMULA Scanner, G2140 imageFORMULA Scanner, USB imageFORMULA Scanner

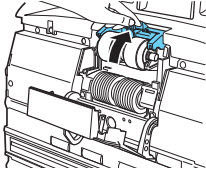
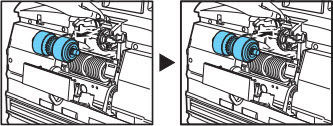
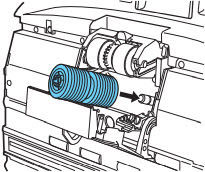
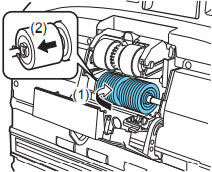
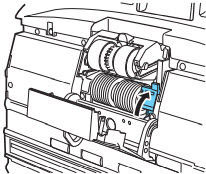
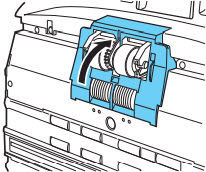
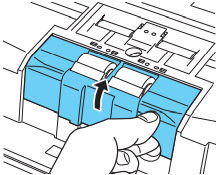
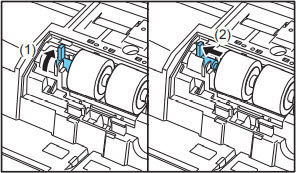
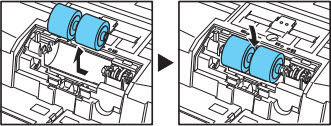
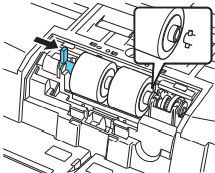
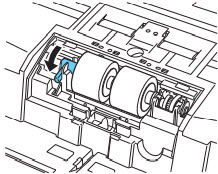
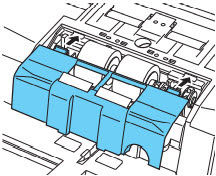
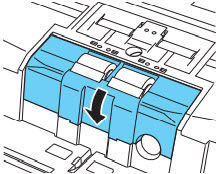
Ready to install the Canon DR-G2110 imageFORMULA Scanner Exchange Roller Kit? We’ve got you covered with our easy-to-follow instructions below! Installing M6865 Exchange Roller Kit: [3601C002] (PR# M6865) This guide explains how to install the M6865 Exchange Roller Kit. Follow the procedure below to remove and reinstall the pickup, feed, and retard rollers. Before Installation:Turn OFF the power switch, and disconnect the power plug from the power outlet while removing or reinstalling the rollers. Leaving the power turned ON may result in electrical shock. Do not place excessive force on the rollers when removing or reinstalling the rollers. Deformation of the rollers may cause feed errors.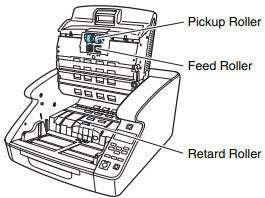 Removing/Reinstalling the Pickup Roller:
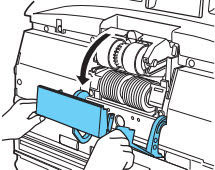
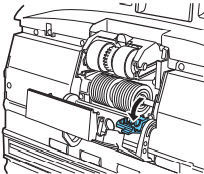
Removing/Reinstalling the Feed Roller:
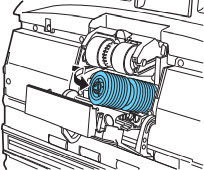
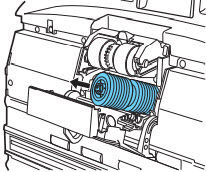
Removing/Reinstalling the Retard Roller:
After completing these steps, ensure all components are properly seated and the scanner operates smoothly.
|



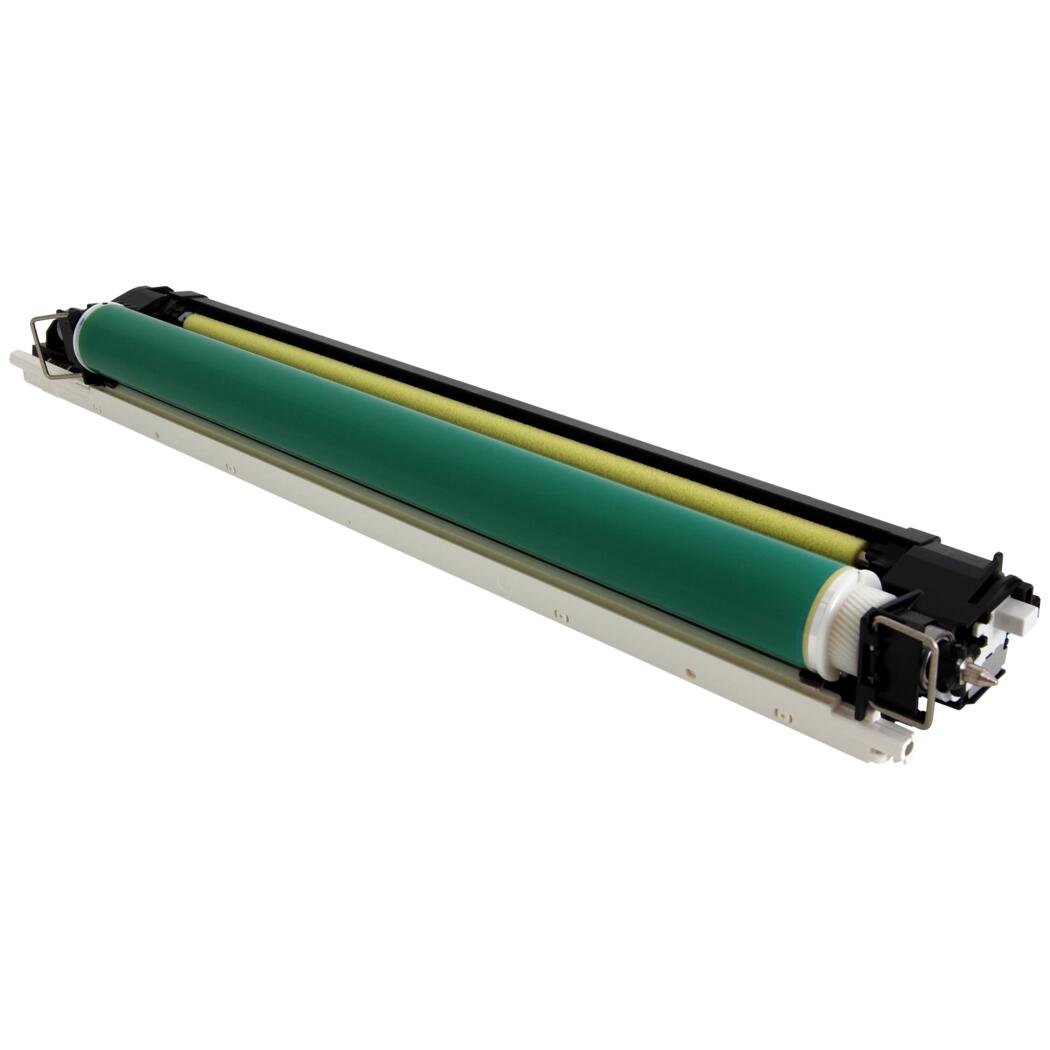 Canon Drum Unit - Black / Color - Sold each


©2003-2026 Precision Roller. • 2102 West Quail Avenue, Suite 1 • Phoenix, AZ 85027 • (800) 323-9523 / (623) 581-3330 • M-F 7:30am - 5:00pm MST (noDST)
Individual brands are copyrighted by their respective owners. Precision Roller is in no way affiliated, sponsored or endorsed by these copyright owners or their affiliates or dealers.
This website uses a secure server to encrypt all sensitive information.
Questions? Concerns? Send us a note at webmaster@precisionroller.com
This website uses a secure server to encrypt all sensitive information.
Questions? Concerns? Send us a note at webmaster@precisionroller.com