Originally written for: Ricoh Aficio MP C3500
Also applies to: Gestetner DSC535, DSC545, Lanier LD435C, LD445C, Ricoh Aficio MP C4500, Savin C3535, C4540
These instructions explain installing the drum unit on a Ricoh Aficio MP C3500 and similar models.
Contents
- Introduction
- Replacing the Drum Unit
- Refilling the Developer
Introduction
Upon receiving the replacement drum unit for the models referenced above, you may notice the replacement drum unit differs in design from the original unit removed from
the machine. The following changes have been noted between the old design and new design:
External Changes
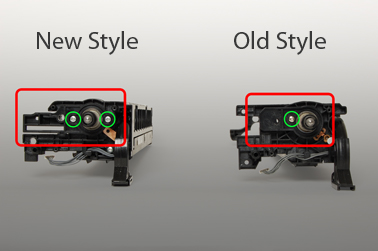
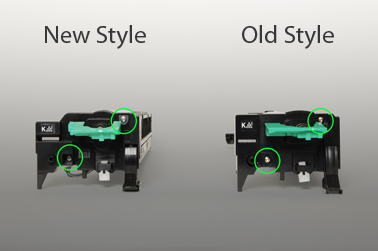
Internal Changes
- The gap between the BK PCU and charge roller has been increased by 15 µm.
- The angle of the lubricant application blade has changed.

These modifications were introduced on the newer drum unit in order to minimize the amount of toner particles that can stick to the charge roller surface.
The angle modification was performed in order to reduce pressure between the lubricant application blade and the drum, resulting in improved cleaning performance.
Note: This newer style of drum unit is fully compatible with the original style unit and requires no modifications for a proper installation.
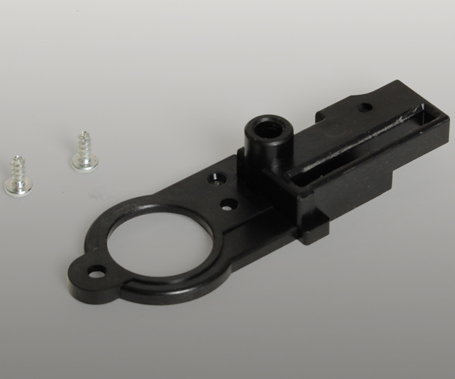
Note: The new drum unit has a front cover as well as a front joint. Remove the front cover and front joint prior to attaching the new drum unit to the developer unit. You will use these items for reassembly.
Replacing the Drum Unit
-
If you are installing a new drum unit, reset the PM counter for the drum unit by setting SP 3902-XXX to “1.”
- For Black, use 3902-009
- For Yellow, use 3902-010
- For Cyan, use 3902-011
- For Magenta, use 3902-012
- Power off machine.
-
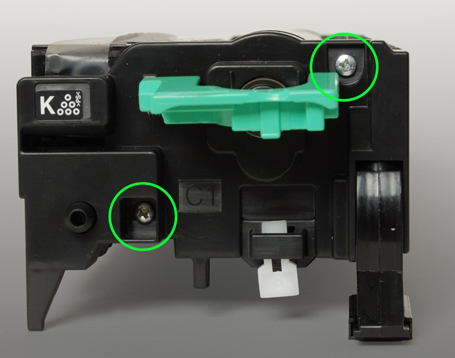
Remove the two screws in order to fully remove the front cover.
Note: You can chose to remove the toner duct at this time to avoid damaging it.
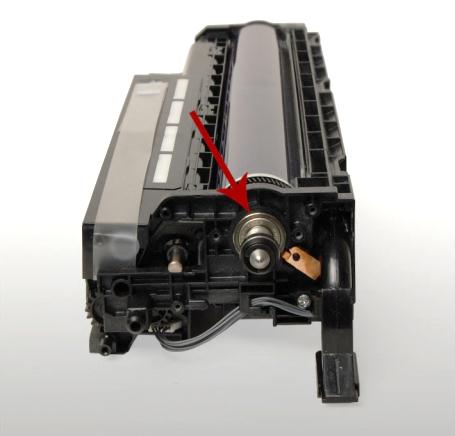
Caution: Do not touch the bearing after removing the front cover. It is applied with
lubricant and you could cause damage or shorten the life of the bearing.
-
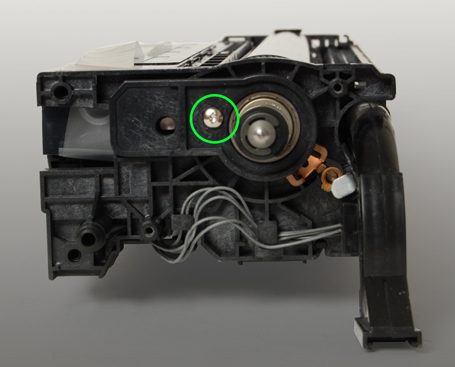
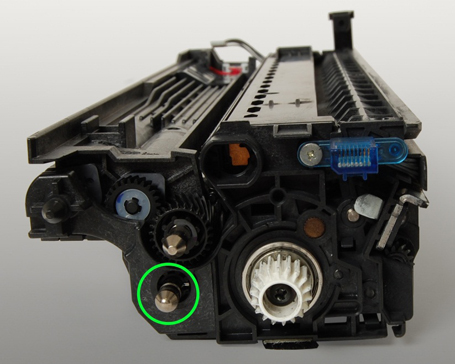
Remove the development roller bushing at the rear of the PCU.

-
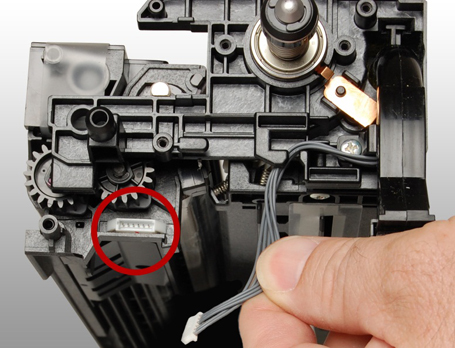
Unplug developer as shown.
-
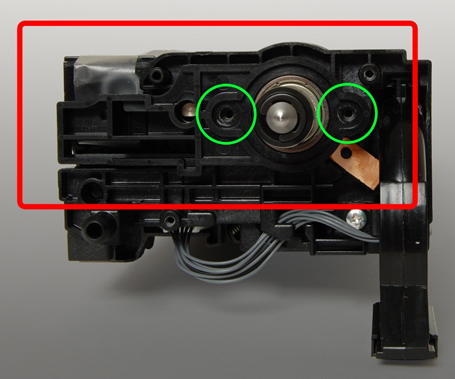
Remove the front joint. Use caution when removing this as it is firmly set. You should remove it using a watchmaker’s or jeweler’s screwdriver.

(front joint removed)
-
After removing the development unit from the drum unit, you should clean the entrance mylar by using a vacuum.
-
Perform steps 3 and 6 on the new drum unit to prepare it for installation.
-
To begin reassembly of new drum unit, align developer with drum unit.
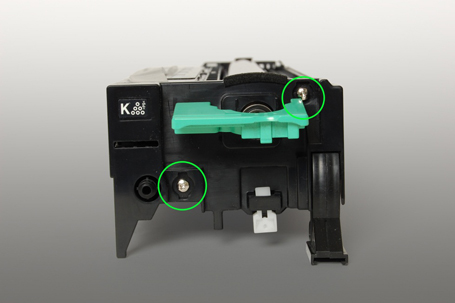
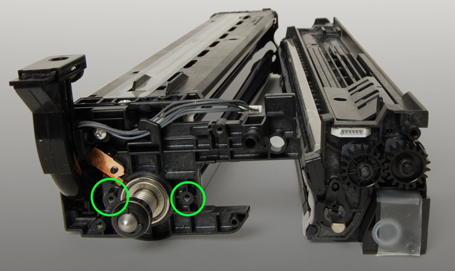
Note: The new drum unit can be recognized by the two screw holes as shown.
-
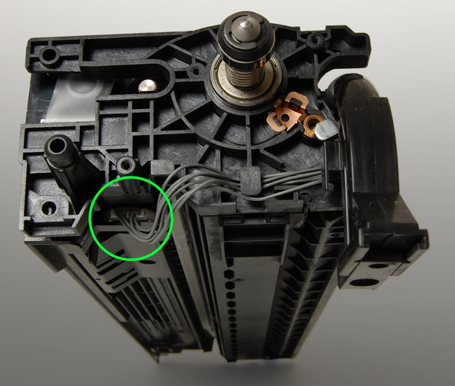
Reassemble drum and reconnect developer connector.
-
Reinstall development roller bushing at the rear of the PCU as shown.
-
Reinstall the new style front joint as shown.
(new style front cover)
-
Reinstall new style front cover.
-
If you plan to change the development unit, then conduct the ACC procedure.
Refilling the Developer
-
Set SP 3902-xxx to “1.”
- For Black, use 3902-005
- For Yellow, use 3902-006
- For Cyan, use 3902-007
- For Magenta, use 3902-008
- Power off machine.
- Remove hopper cover (3 hooks total)
- Shake one bag of developer and pour the contents into the development hopper.
- Reattach hopper cover (3 hooks total)
- Power on machine. The machine will initialize the developer.
- Publisher: Precision Roller


 Atrix 31700C High Performance Vacuum Filter


