Originally written for: HP LaserJet P4015dn
Also applies to: HP LaserJet P4014, P4014dn, P4014n, P4015n, P4015tn, P4015x, P4515n, P4515tn, P4515x, P4515xm
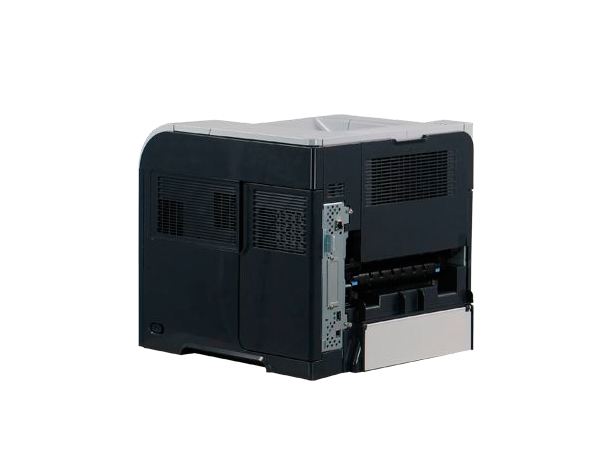
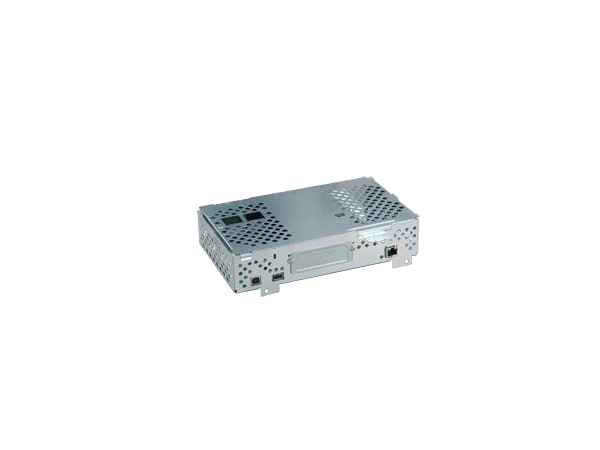
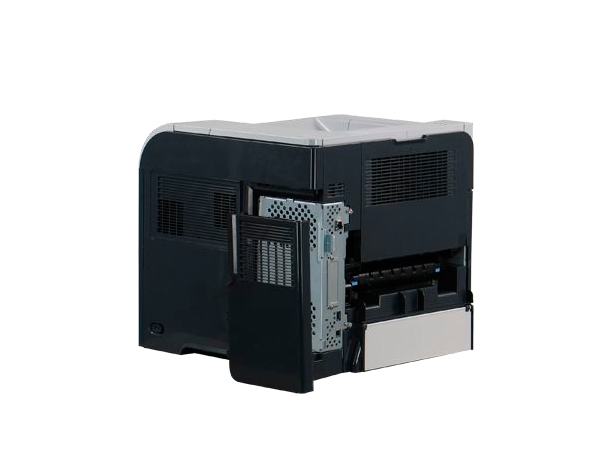
These instructions explain installing the printer formatter assembly on an HP Laserjet P4015 and similar models.
Step 1.
Power off the device and unplug the power cord from the wall outlet.

Step 2.
Unplug all cables to the formatter.
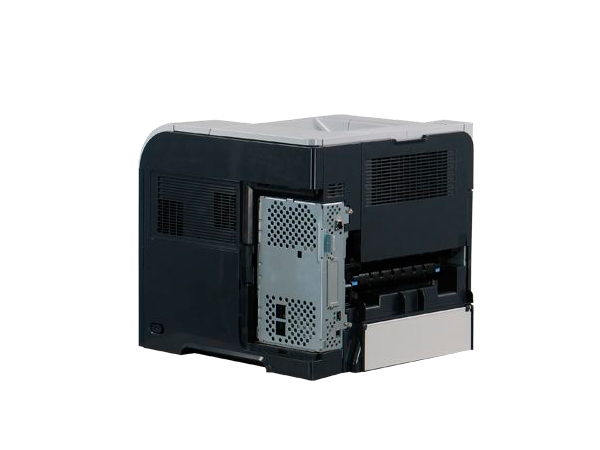
Step 3.
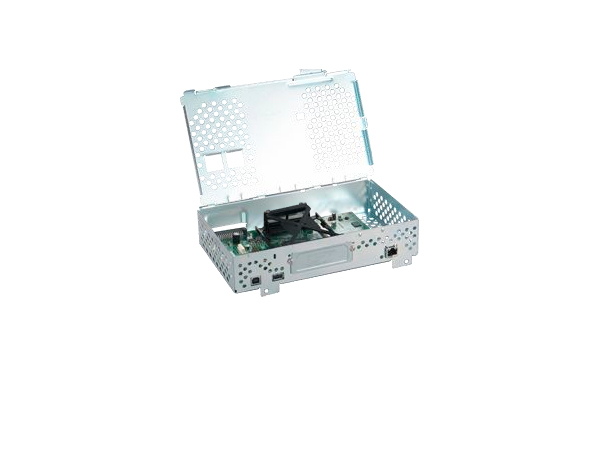
Facing the back of the device, place fingers in the formatter cover groove near the top of the cover and pull the cover straight out.


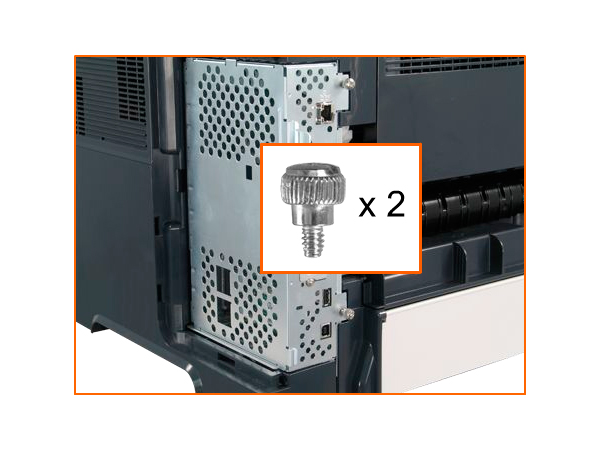
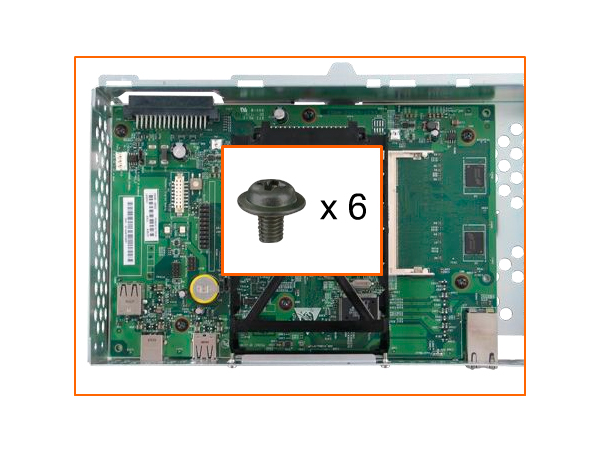
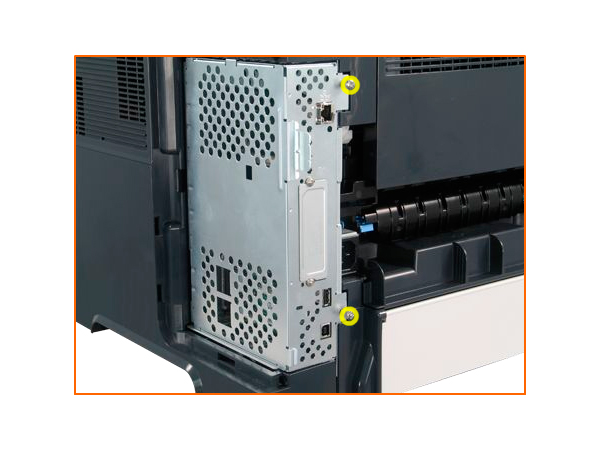
Step 4.
Remove and keep the thumbscrews.


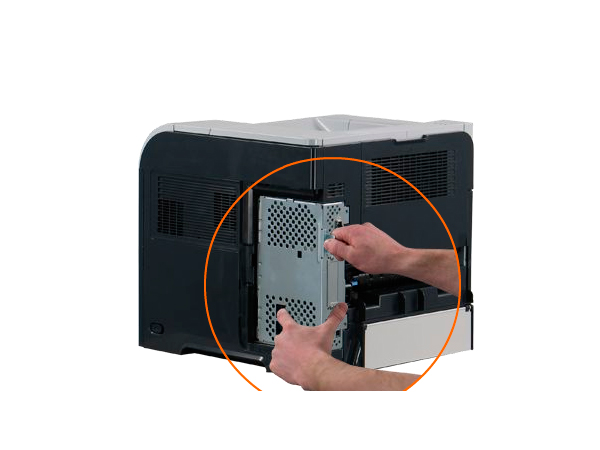
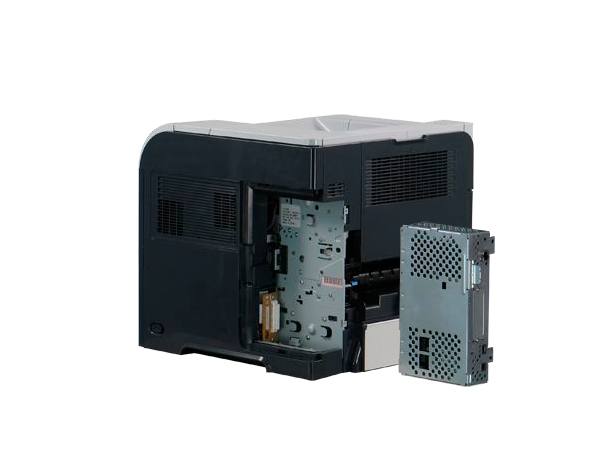
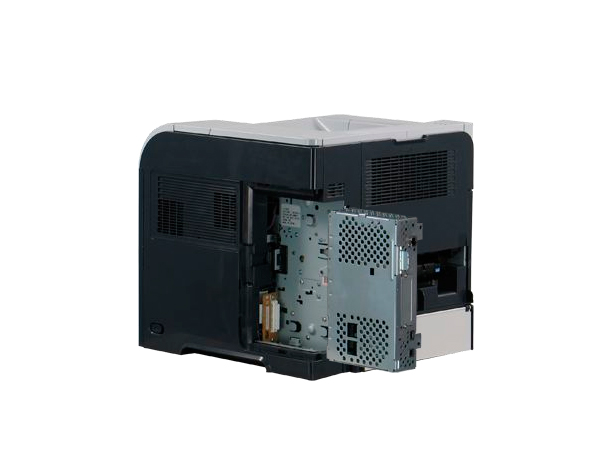
Step 5.
Facing the rear of the device, place a finger into the two square holes on the side of the formatter cage. Use the other hand to grasp the tab that protrudes from the rear of the formatter cage. Pull the formatter assembly straight out.

Step 6.
Remove any installed EIO card by pulling it straight out.
Step 7.
If installed, remove the memory DIMM by releasing its lock levers and rotating the DIMM away from the formatter board.
Step 8.
Remove any internal USB solutions.
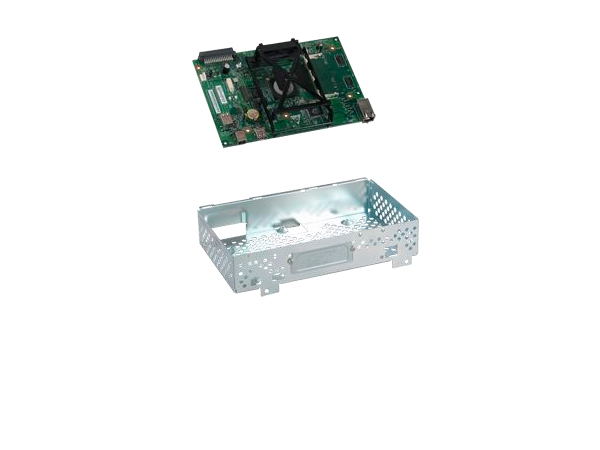
Step 9.
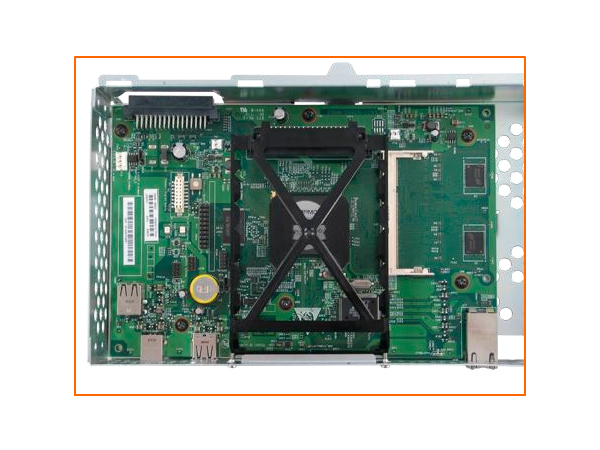
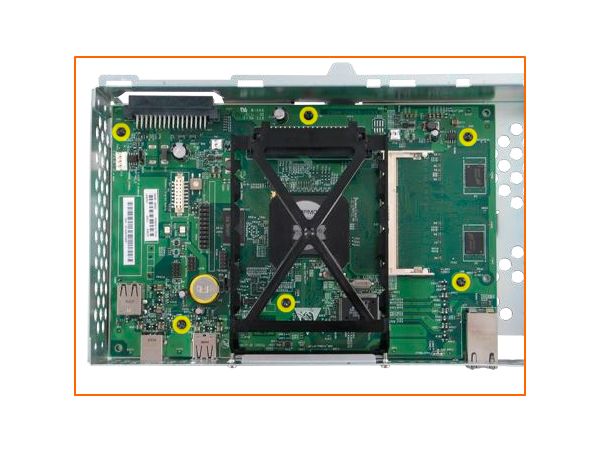
Discard the old formatter, and install the new formatter board into the formatter board cage using the illustrations below.


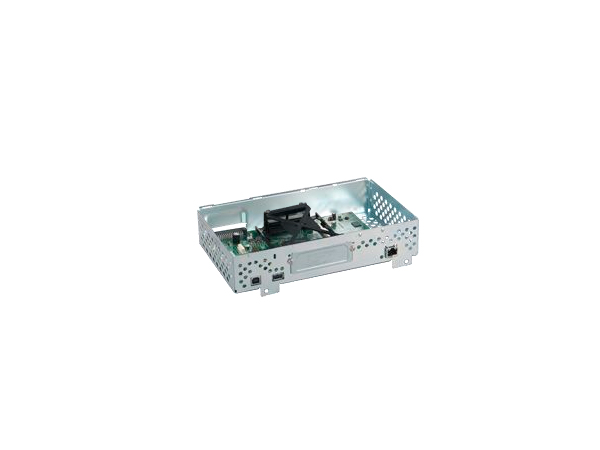
Step 10.
Install any optional EIO card by sliding the card into the EIO slot.
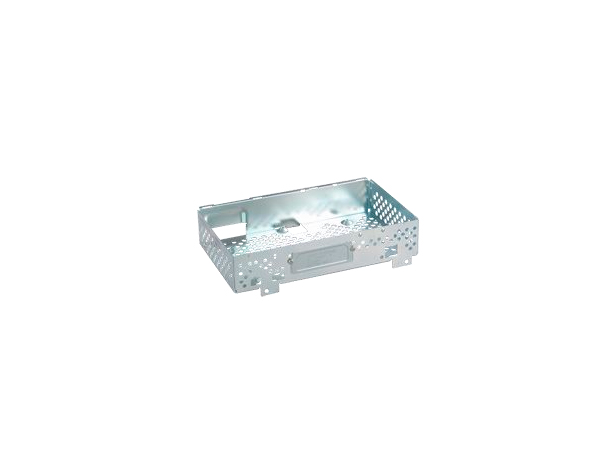
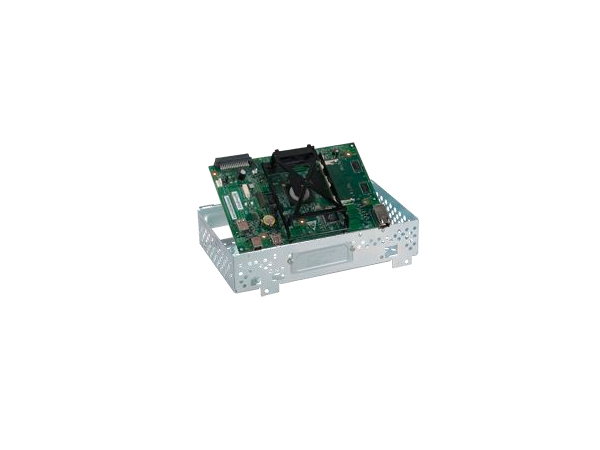
Step 11.
Install any optional memory DIMM by sliding the DIMM into the slot at any angle. Once aligned, rotate it toward the formatter board until it locks into place. Close the formatter cage and reinstall the formatter cage assembly into the slot located on the rear of the printer using the illustrations below.


Step 12.
Reattach all cables to the formatter.
Step 13.
Slide the formatter cover into place by aligning the two tabs and pressing the cover toward the front of the device until it snaps into place.

Step 14.
Plug the device power cord into the wall outlet and power on the device.
- Publisher: Precision Roller


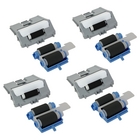 HP F2A68-67913 Tray 2 & 500-sheet Optional Feeders Roller Kit


