


|
Dell 1700 Replacing the Imaging Drum Instructions
Originally written for: Dell 1700
Also applies to: Dell 1710n, Lexmark E232, E232T, E234, E234N, E234TN, E238, E240, E330, E332N, E332TN, X340, X340N, X342N

These instructions describe replacement of the drum on a Dell 1700 and similar models. These instructions refer to installing drum unit [310-5404] NOTICE:
|


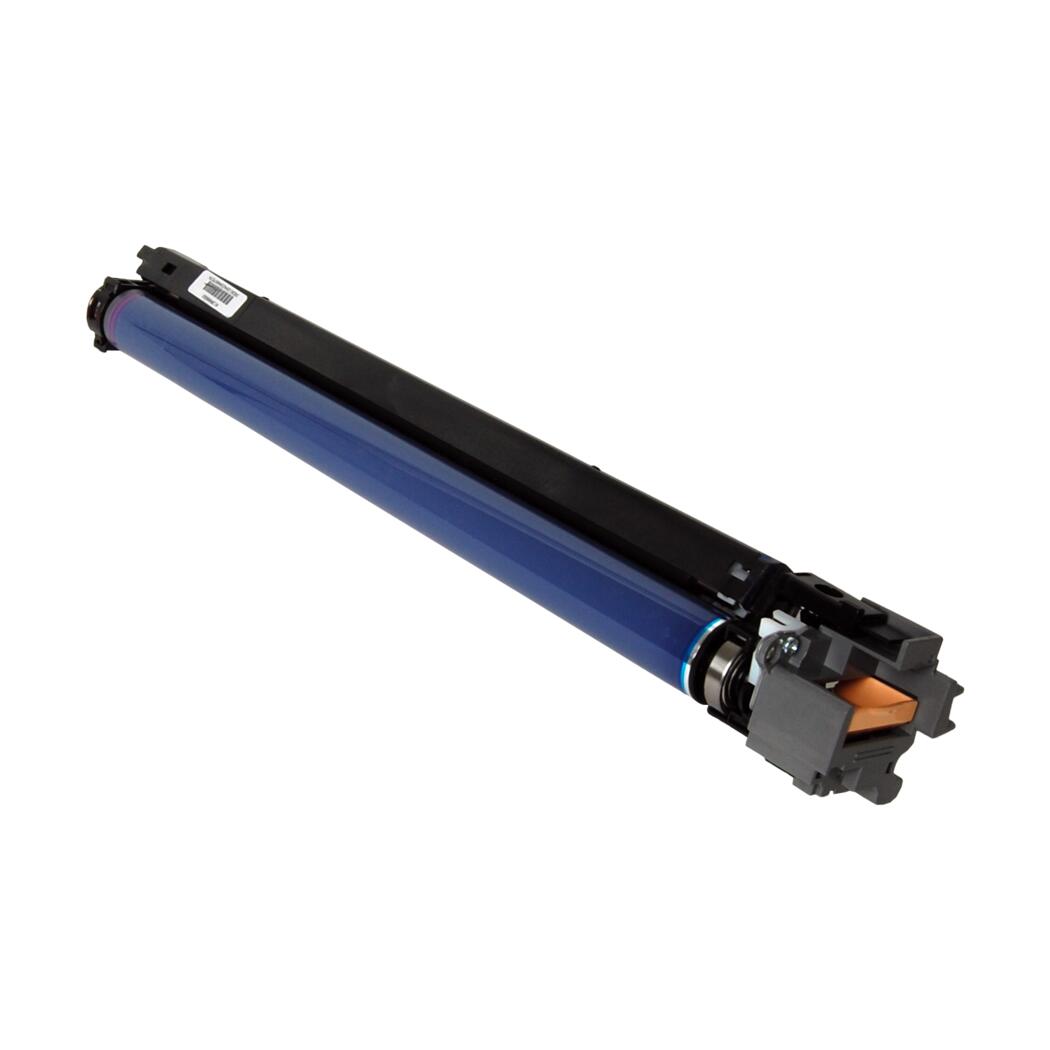 Xerox Black / Color Drum Unit - Sold each


©2003-2026 Precision Roller. • 2102 West Quail Avenue, Suite 1 • Phoenix, AZ 85027 • (800) 323-9523 / (623) 581-3330 • M-F 7:30am - 5:00pm MST (noDST)
Individual brands are copyrighted by their respective owners. Precision Roller is in no way affiliated, sponsored or endorsed by these copyright owners or their affiliates or dealers.
This website uses a secure server to encrypt all sensitive information.
Questions? Concerns? Send us a note at webmaster@precisionroller.com
This website uses a secure server to encrypt all sensitive information.
Questions? Concerns? Send us a note at webmaster@precisionroller.com